How to Tile a Shower: A Step-by-Step DIY Guide
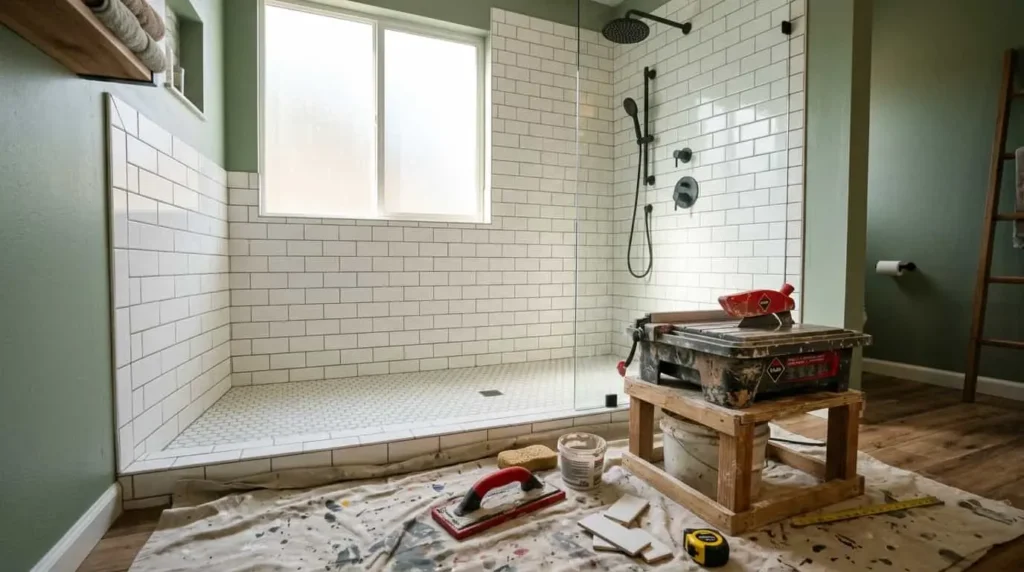
Learning how to tile a shower is one of the most rewarding DIY bathroom upgrades you can tackle, but it only pays off if the waterproofing and prep work are done right. This guide walks through the whole process in order: gathering tools, prepping the walls, waterproofing, setting tile, and grouting. If you’ve ever tiled a kitchen backsplash, the tools will feel familiar. A shower just raises the stakes, since a small gap in the waterproofing here can mean a rotted wall a year from now instead of a coffee stain on a countertop.
What You’ll Need Before You Start
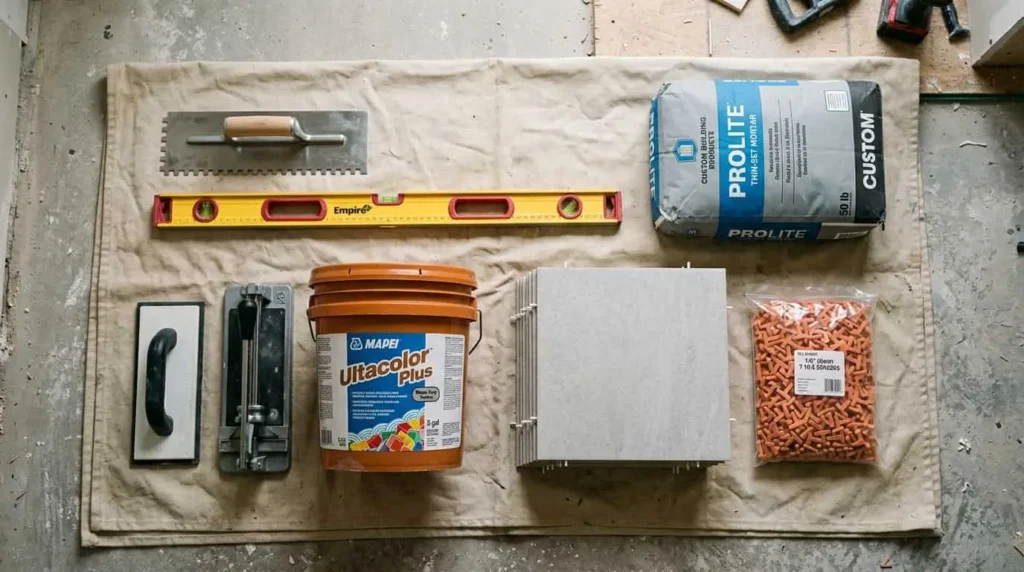
A shower tiling project is DIY-friendly, but it’s not a weekend job if you’re new to it. Set aside several days for prep, tiling, and cure time, and gather these before you start:
- Shower tile (porcelain or ceramic for walls, a slip-resistant floor tile with a higher DCOF rating for the base)
- Cement backer board and backer board screws
- Waterproofing membrane (sheet, liquid-applied, or foam board system)
- Thinset mortar and a notched trowel
- Tile spacers and a level
- Wet tile saw or tile cutter
- Fiberglass mesh tape
- Grout, a grout float, and grout sealer
- Silicone caulk
- Pry bar, hammer, and a wet/dry vacuum for demo
Porcelain and ceramic are the safest starting points for a first-timer. Natural stone looks great but is porous and needs sealing, which adds a step most beginners can skip for now.
How to Tile a Shower: Step-by-Step Instructions
- Strip the old shower. Remove fixtures, then take the tile and backer board down to the studs. Work in small sections and vacuum up debris and dust as you go.
- Check the framing. Hold a straight board against each wall, both horizontally and vertically, to find high and low spots. Shim low spots and shave down high ones. Tile follows the wall underneath it, so a wavy wall means wavy tile no matter how carefully you set it later.
- Install cement backer board. Fasten it to the studs, leaving a small gap above the shower pan, then tape and mortar the seams with fiberglass mesh tape.
- Waterproof the walls and floor. This is the step most DIYers underestimate, and it’s covered in detail below. Don’t skip it or rush it.
- Dry-lay your layout. Before any mortar goes on the wall, lay tiles out dry to find your center point and figure out where cuts will fall, especially around the drain and any niches. This step saves you from an awkward sliver of tile in a visible spot.
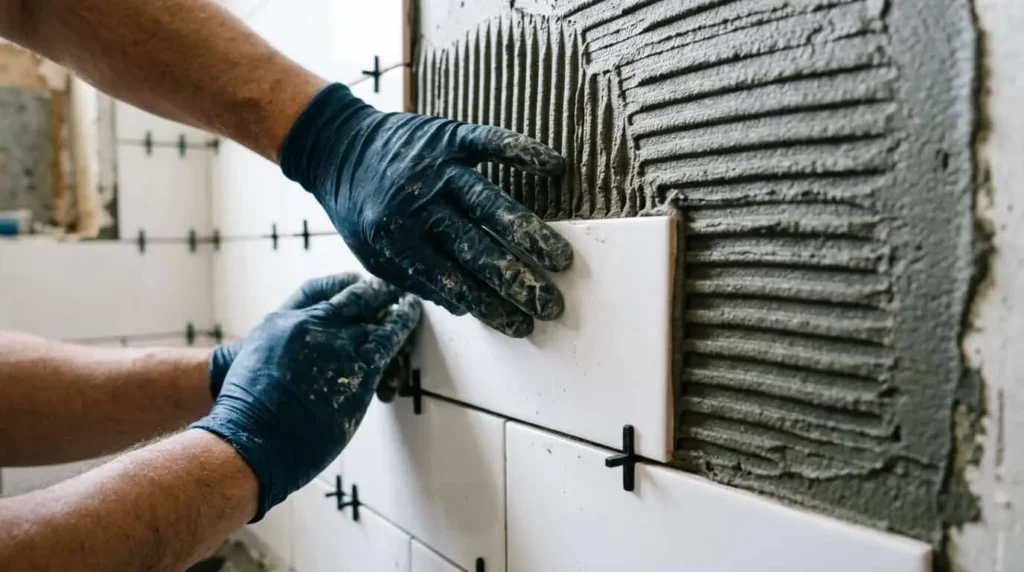
- Mix thinset mortar and set the first row. Mix to a peanut-butter consistency, comb it onto the wall with the notched side of the trowel, and press tiles in with a slight wiggle to seat them. Use spacers between tiles and let the first row cure overnight before adding weight above it.
- Continue tiling row by row. Check for level often. Cut tiles as needed with a wet saw to fit around the shower valve, niches, and corners.
- Let the tile cure. Give it at least 24 hours before removing spacers or applying pressure.
- Grout, clean, and seal. Apply grout diagonally with a float, wipe away the haze with a damp sponge, and let it cure fully (more on timing below) before sealing the grout and caulking the corners and floor joints.
How to Waterproof a Shower Before You Tile
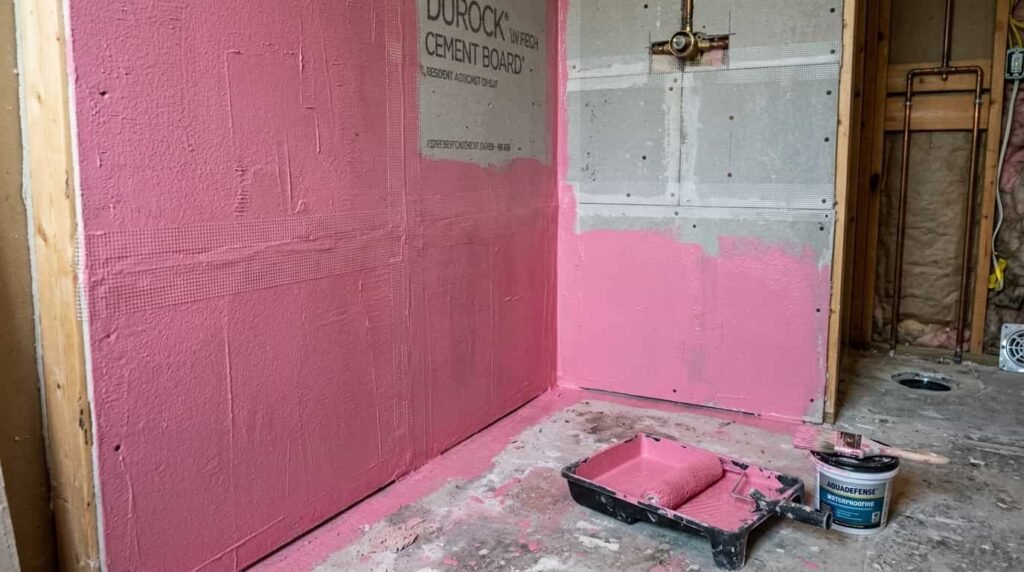
Tile and grout are not actually waterproof on their own. Grout is a porous material, so without a real waterproofing layer behind the tile, moisture eventually reaches the wall structure and causes rot or mold. A plastic vapor barrier alone behind the backer board is an older, weaker method and shouldn’t be your only line of defense in a modern build.
Three systems dominate today:
- Sheet membranes (like the Schluter Kerdi system) are built into the wallboard or applied as a bonded sheet over backer board. They’re durable and reliable, though the learning curve for a first-timer is steeper.
- Liquid-applied membranes (like RedGard) are rolled or brushed on in two coats over the backer board. They’re the most beginner-friendly option since there’s no cutting or fitting involved, just even coverage and dry time between coats.
- Foam board systems come pre-sloped and drain-ready, which makes them appealing for shower floors specifically, though they lock you into a fixed drain location.
Whichever system you choose, pay extra attention to corners, niches, benches, and anywhere a pipe passes through. These transition points are where most waterproofing failures actually start, not the flat wall sections.
What’s the Best Waterproofing Method for a Tile Shower?
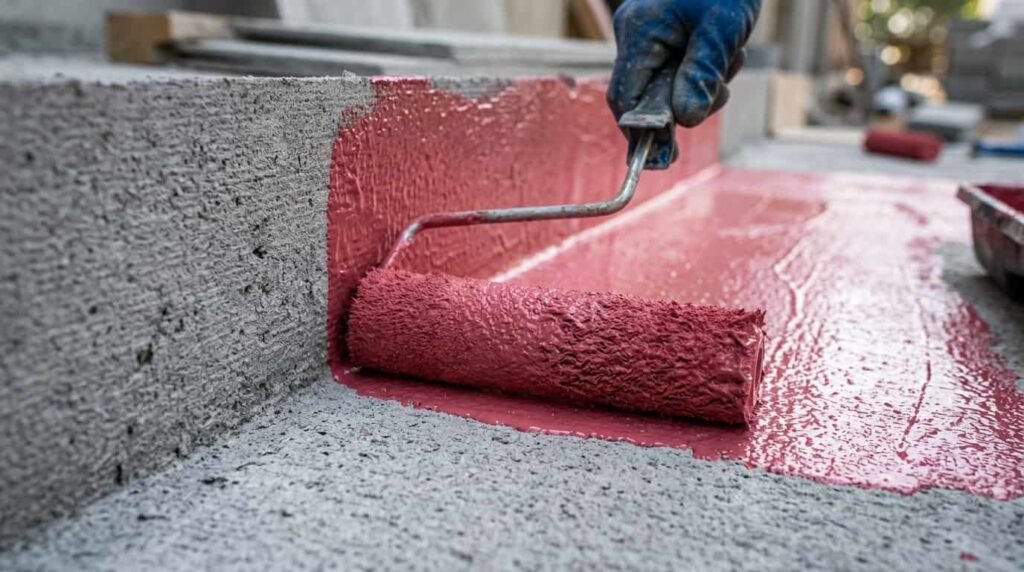
For most DIYers, a liquid-applied membrane like RedGard over properly taped and mortared cement board offers the best mix of reliability and ease of use. It doesn’t require the precision cutting that sheet membranes do, and two coats typically cover a standard shower for well under $100 in materials. Sheet membrane systems are the better long-term choice if you’re comfortable with more exacting work or building a custom shower pan from scratch.
How Much Does It Cost to Tile a Shower Yourself?
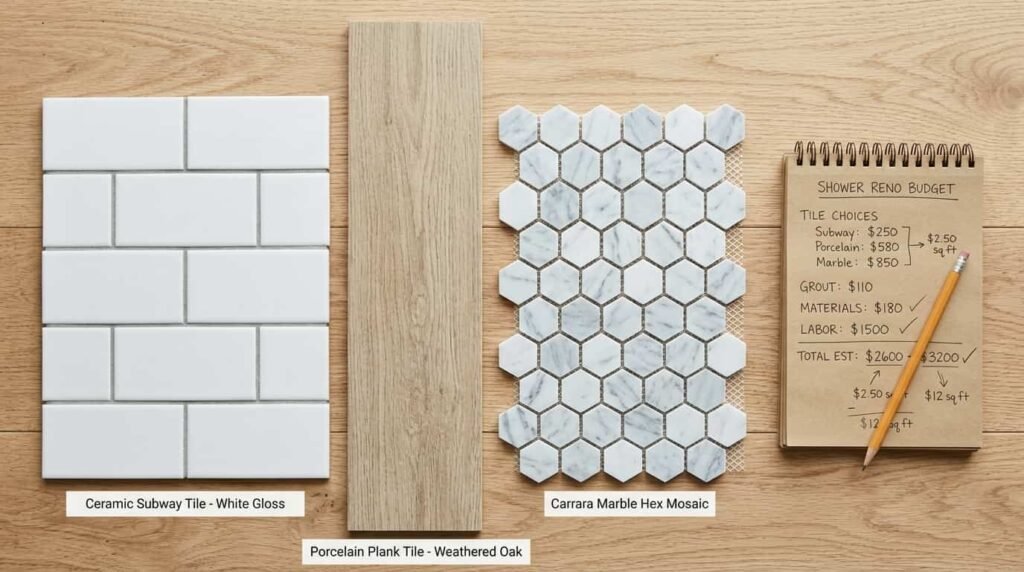
Budgets vary a lot based on tile choice, but here’s a general sense of the range. DIY materials for a standard shower, including tile, backer board, waterproofing, thinset, and grout, typically land in the $1,300 to $5,000 range depending on the tile you choose. Ceramic runs roughly $10 to $25 per square foot installed, porcelain $15 to $50, and natural stone options like marble or granite can climb well past $50.
Hiring a professional for the same job generally runs $2 to $16 per square foot in labor alone, with total project costs often landing between $1,800 and $5,000 once materials and demo are included. DIYing a simple design with mid-range tile is where the real savings show up, sometimes cutting the total cost by more than half compared to hiring it out, as long as you’re not paying to fix a botched waterproofing job later.
Mistakes That Ruin a New Shower Tile Job
- Skipping or skimping on the waterproofing membrane. This is the single biggest cause of shower failures, and it’s invisible once tile goes up, so there’s no fixing it cheaply after the fact.
- Not checking walls for plumb and flat before tiling. Tiling over a wavy wall locks the waviness in permanently.
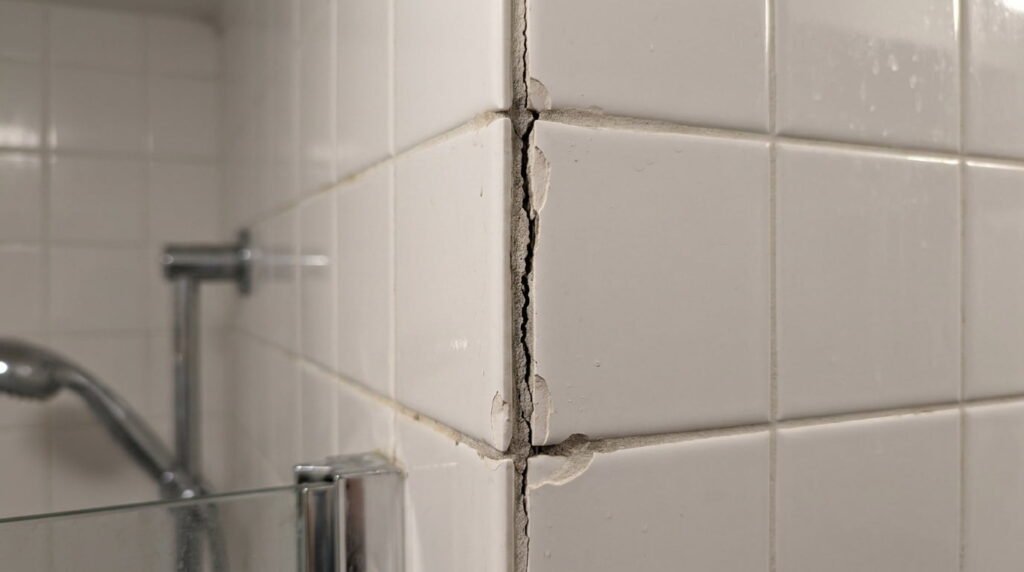
- Using the shower before grout and sealant have fully cured. Grout can feel dry to the touch in hours but needs 48 to 72 hours to cure, and sealer needs its own cure window on top of that. Jumping in too soon is a common reason grout cracks or discolors within the first year.
- Choosing a slippery tile for the floor. Wall tile and floor tile have different jobs. Look for a floor tile with a higher DCOF rating, and consider a smaller format with more grout lines for extra grip.
- Forgetting to seal grout, or forgetting to caulk (not grout) the corners. Rigid grout in a corner where two planes meet and flex will crack. That joint should be flexible silicone caulk instead.
How long should you wait to shower after tiling?
Give the tile itself at least 24 hours to set before grouting, then plan on 48 to 72 hours after grouting before using the shower normally, longer if you’re also applying a grout sealer. Rushing this step is one of the most common reasons a new shower tile job fails early.
Do you need a vapor barrier if you’re using a waterproofing membrane?
If you’re using a modern sheet or liquid-applied membrane system correctly, a separate plastic vapor barrier isn’t required and, in some systems, isn’t recommended since it can trap moisture in the wall cavity instead of letting it dry out. Follow the specific instructions for the waterproofing system you choose rather than defaulting to the old vapor-barrier approach out of habit.
What type of tile is best for a shower?
Porcelain and ceramic are the most practical choices for most homeowners since they’re durable, water-resistant, and budget-friendly. For the shower floor specifically, choose a tile with a higher DCOF rating for slip resistance, and lean toward a smaller format, since more grout lines mean more traction underfoot.
Can you tile directly over old shower tile?
It’s possible in some cases, but it’s rarely worth it. Old tile can hide cracked backer board or failed waterproofing underneath, and adding a new layer on top raises the finished surface, which complicates the shower door, threshold, and drain height. Stripping down to the studs, while messier, gives you a clean opportunity to fix problems you can’t see yet and install proper waterproofing from scratch.
Tiling a shower is a genuinely doable weekend-and-then-some project once you understand the order of operations: prep, waterproof, tile, cure, grout, seal. Take your time on the waterproofing step in particular, since it’s the one part of the job you won’t be able to see or fix once the tile is up. If you’re planning a full bathroom refresh alongside this project, check out our other bathroom renovation guides for tile pairing ideas and layout inspiration.