
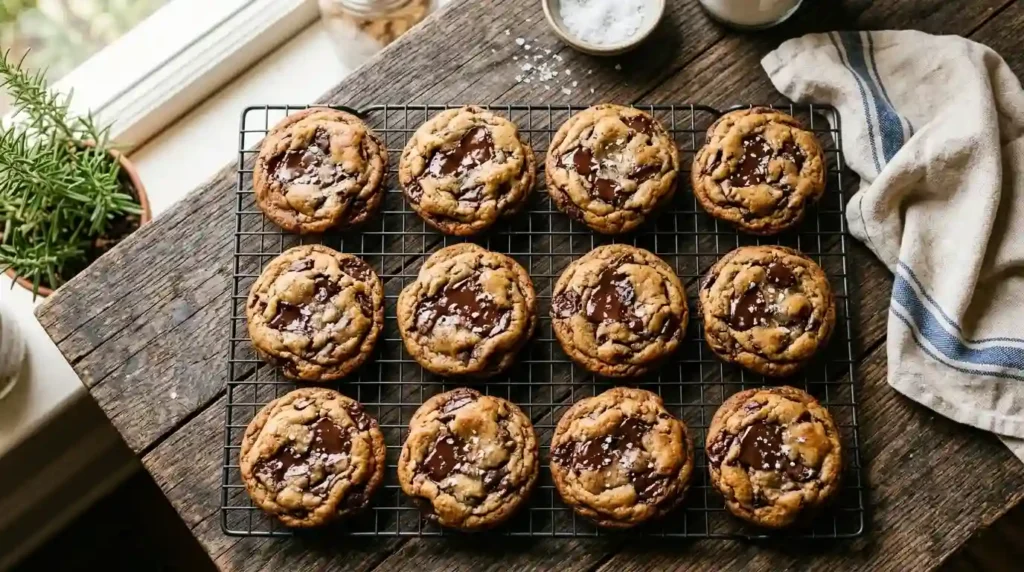
Brown Sugar Chocolate Chip Cookies: The Chewiest Batch You’ll Bake
Brown sugar chocolate chip cookies are the answer if you’ve ever pulled a batch of chocolate chip cookies out of the oven and wished they were chewier, richer, and a little more caramelized around the edges. Swapping out white sugar for brown sugar (or using more of it than usual) sounds like a small change, but it transforms the texture, color, and flavor of a classic cookie. This guide walks through exactly why that swap works, gives you a tested recipe, and answers the questions home bakers ask most.
Why Brown Sugar Makes These Cookies So Chewy
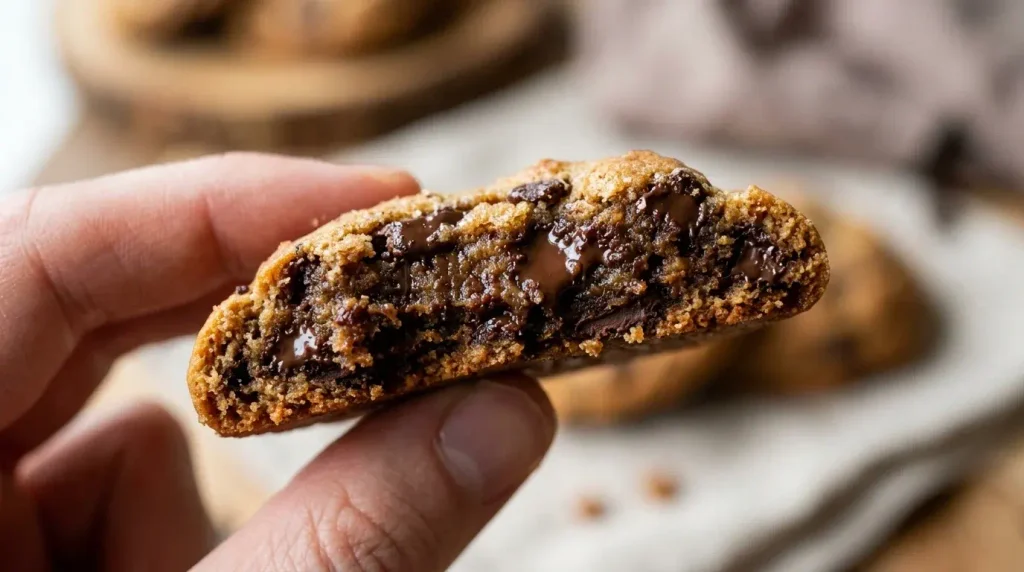
Brown sugar isn’t just white sugar with a tan. It’s granulated sugar with molasses added back in, and that molasses is doing a lot of quiet work in your cookie dough. Molasses is hygroscopic, meaning it holds onto moisture, and it’s also slightly acidic. That extra moisture keeps the dough from drying out in the oven, so instead of a crisp, sandy cookie, you get one with a soft, dense, chewy center.
The acidity in molasses also reacts with baking soda, which affects how much a cookie spreads and browns. Cookies made with a higher ratio of brown sugar to white sugar tend to spread less and puff more, giving you that thick, bakery-style shape instead of a flat, crispy disc. On top of the texture change, molasses brings notes of caramel and a faint smokiness that plain white sugar simply can’t replicate. That’s the flavor people are chasing when they say a cookie tastes “rich” or “deep.”
Ingredients You’ll Need for Brown Sugar Chocolate Chip Cookies
You don’t need anything exotic for this recipe. Most of these ingredients are already sitting in a home baker’s pantry.
- All-purpose flour: the structural base of the dough.
- Brown sugar: light or dark, packed tightly when measured (more on the difference below).
- Butter: melted butter gives a chewier result than creamed softened butter.
- Eggs: room temperature eggs mix in more evenly and help the dough emulsify properly.
- Vanilla extract: use real vanilla if you can. It rounds out the molasses flavor.
- Baking soda and salt: baking soda helps the cookies spread and brown, while salt balances the sweetness.
- Cornstarch (optional): a spoonful adds extra tenderness and a softer bite.
- Semi-sweet chocolate chips: or a mix of chips and chopped chocolate bar for pools of melted chocolate.
- Flaky sea salt (optional): a finishing touch that makes the caramel notes pop.
How to Make Brown Sugar Chocolate Chip Cookies Step by Step
- Preheat and prep. Set the oven to 350°F and line two baking sheets with parchment paper.
- Mix the dry ingredients. In a small bowl, whisk together flour, baking soda, salt, and cornstarch if using. Set aside.
- Cream the wet ingredients. In a large bowl or stand mixer, beat the melted butter and brown sugar together until smooth and glossy, about one minute. Add the eggs one at a time, then the vanilla, mixing until combined.
- Combine. Add the dry ingredients to the wet ingredients in two batches, mixing on low speed just until no streaks of flour remain. Overmixing at this stage is the most common reason cookies turn out flat, so stop as soon as the dough comes together.
- Fold in the chocolate. Add the chocolate chips and fold them in by hand with a spatula so you don’t overwork the dough.
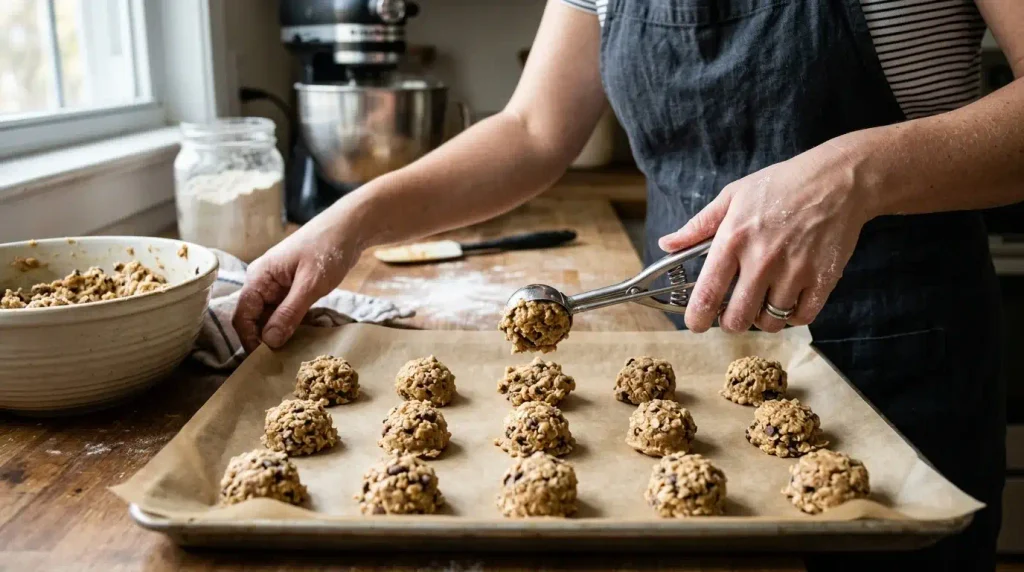
- Scoop and bake. Use a cookie scoop to portion dough into 2-tablespoon balls, spaced about 2 inches apart. Bake for 9 to 11 minutes, until the edges are set and lightly golden but the centers still look a touch underdone.
- Cool and finish. Let the cookies rest on the baking sheet for 5 minutes before transferring to a wire rack. Sprinkle with flaky sea salt while they’re still warm, if using.
Can You Use All Brown Sugar in Chocolate Chip Cookies?
Yes, you can replace all of the white sugar in a chocolate chip cookie recipe with brown sugar. The result is a chewier, moister cookie with a deeper caramel flavor and a slightly darker color than a traditional half-and-half recipe. No other ingredient swaps are required, though you may notice the dough spreads a bit less in the oven.
I’ve tested this swap side by side in my own kitchen, baking one tray with the standard white-and-brown sugar mix and one tray with all brown sugar from the same batch of dough split in half. The all-brown-sugar tray came out noticeably chewier and held its shape better, with a color closer to caramel than golden blonde.
Light vs. Dark Brown Sugar: Which Should You Use?
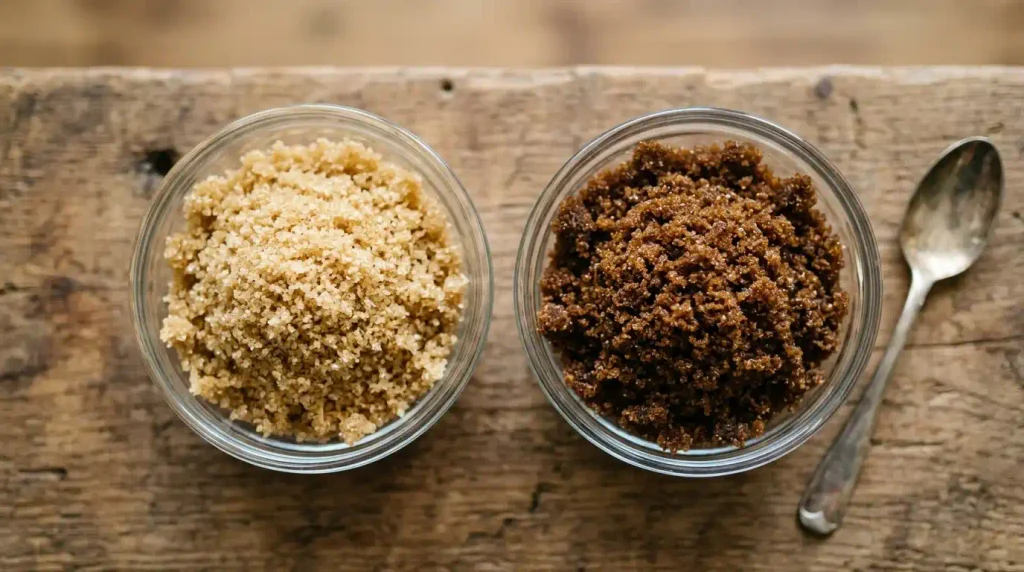
Both light and dark brown sugar work in this recipe, and the choice comes down to how bold you want the molasses flavor to be.
- Light brown sugar has a lower molasses content, giving a milder caramel taste and a slightly softer, more classic chocolate chip cookie flavor. It’s the better pick if you want a familiar taste with just a bit more chew.
- Dark brown sugar has roughly double the molasses of light brown sugar, so it produces a richer, more intense flavor with stronger caramel and toffee notes, along with a denser, chewier crumb.
If you’re not sure which to use, start with light brown sugar for your first batch, then try dark brown sugar next time to compare. Many bakers end up splitting the difference and using a mix of the two.
Tips for the Perfect Batch Every Time
- Pack the brown sugar firmly into your measuring cup. Loosely packed brown sugar throws off the sugar-to-flour ratio and can leave cookies dry.
- Don’t skip room-temperature eggs if the recipe calls for them. Cold eggs can cause the melted butter to seize slightly, leading to an uneven dough.
- Weigh your flour if you have a kitchen scale. Scooping flour directly from the bag tends to pack in extra flour, which makes cookies cakey instead of chewy.
- Watch the bake time closely. These cookies go from perfectly chewy to overbaked in about 60 to 90 seconds, so pull them the moment the edges set.
- Let the dough rest briefly on the counter if it feels too soft to scoop, especially in a warm kitchen. Five to ten minutes in the fridge firms it up without requiring a full chill.
How to Store and Freeze Brown Sugar Chocolate Chip Cookies
Baked cookies keep well at room temperature in an airtight container for up to a week. If your kitchen runs warm or humid, storing them in the fridge can help maintain that chewy texture a day or two longer.
For longer storage, freeze the baked cookies in a single layer until solid, then transfer them to a freezer-safe bag with parchment paper between layers so they don’t stick together. They’ll keep for up to two months in the freezer. Thaw at room temperature for 10 to 15 minutes, or warm them in a 300°F oven for a few minutes to bring back that fresh-baked chewiness.
Once you’ve made a batch of brown sugar chocolate chip cookies, it’s hard to go back to a plain white sugar version. The molasses does more than sweeten. It changes the whole texture of the cookie, from the color of the edges to the way it feels when you bite in. Try both the light and dark brown sugar versions, keep notes on which one your household prefers, and you’ll have a go-to recipe for every cookie craving from here on out.
Is the dough for brown sugar chocolate chip cookies supposed to be thick?
Yes. Because brown sugar holds more moisture than white sugar, the dough should feel notably thick and a little sticky, thick enough that stirring in the chocolate chips takes some real effort. If your dough feels thin or runny, your butter may have been too warm.
Should I chill brown sugar cookie dough before baking?
Chilling isn’t required, but it does help. An hour or two in the fridge firms up the butter, which means the cookies spread less and bake up thicker. If you’re short on time, this recipe works fine straight from mixing to the oven.
Why did my brown sugar chocolate chip cookies turn out flat?
Flat cookies are almost always caused by butter that’s too warm, dough that’s been overmixed, or too little flour. Double-check your flour measurement, avoid overmixing once the dry ingredients go in, and try chilling the dough for 30 minutes before your next batch.
Can I freeze brown sugar chocolate chip cookie dough?
Yes. Scoop the dough into individual balls, freeze them on a tray until solid, then transfer to a freezer bag. They’ll keep for up to two months and can be baked straight from frozen, just add one to two extra minutes to the bake time.


Pingback: Gluten Free Pancake Recipe: Light and Fluffy
Pingback: Oatmeal No Bake Cookies (Easy 15-Minute Recipe)