
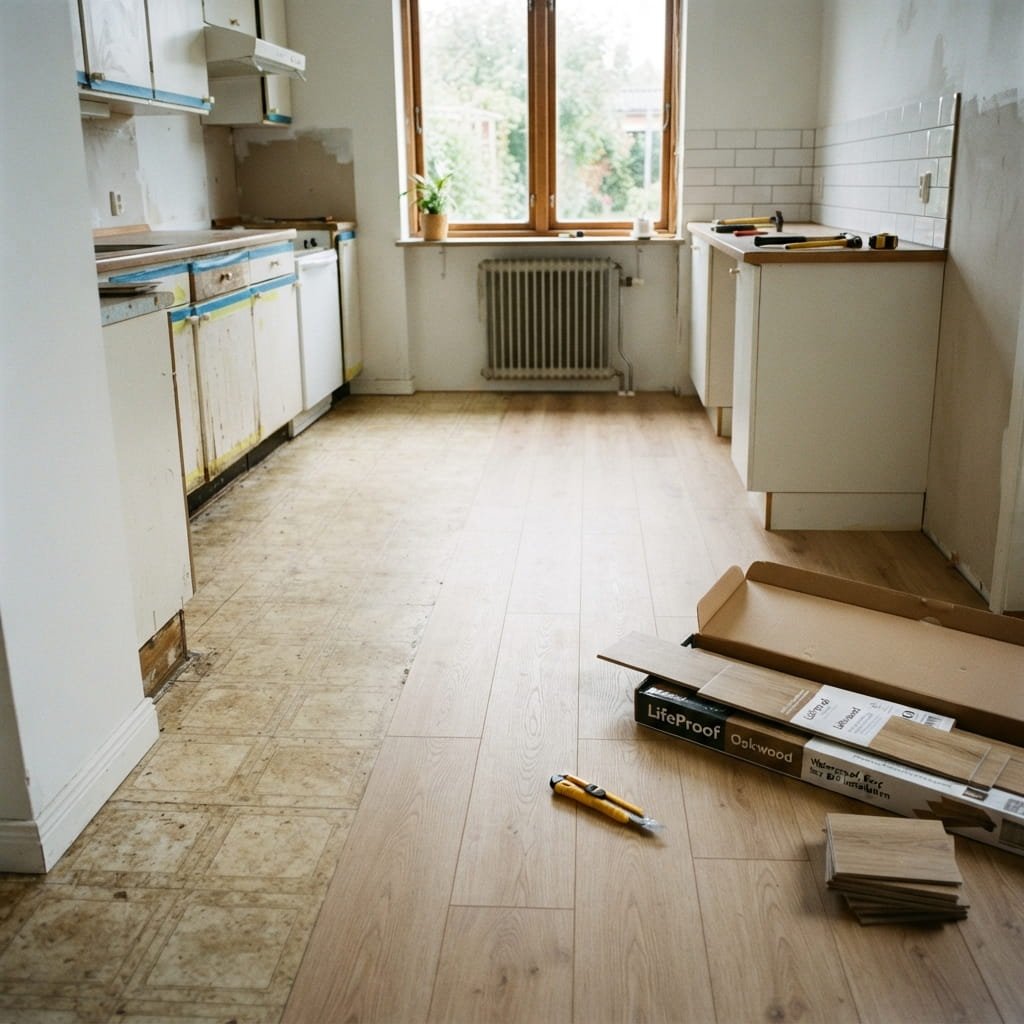
Peel and Stick Floor Tiles: What to Know Before You Buy
Peel and stick floor tiles are self-adhesive vinyl tiles that let you update a kitchen floor in a weekend, without hiring a contractor or tearing out the flooring underneath. This guide covers what they’re actually made of, real costs per square foot, where they hold up and where they don’t, and the exact steps for installing them in a kitchen so seams stay tight and edges don’t curl.
What Are Peel and Stick Floor Tiles?
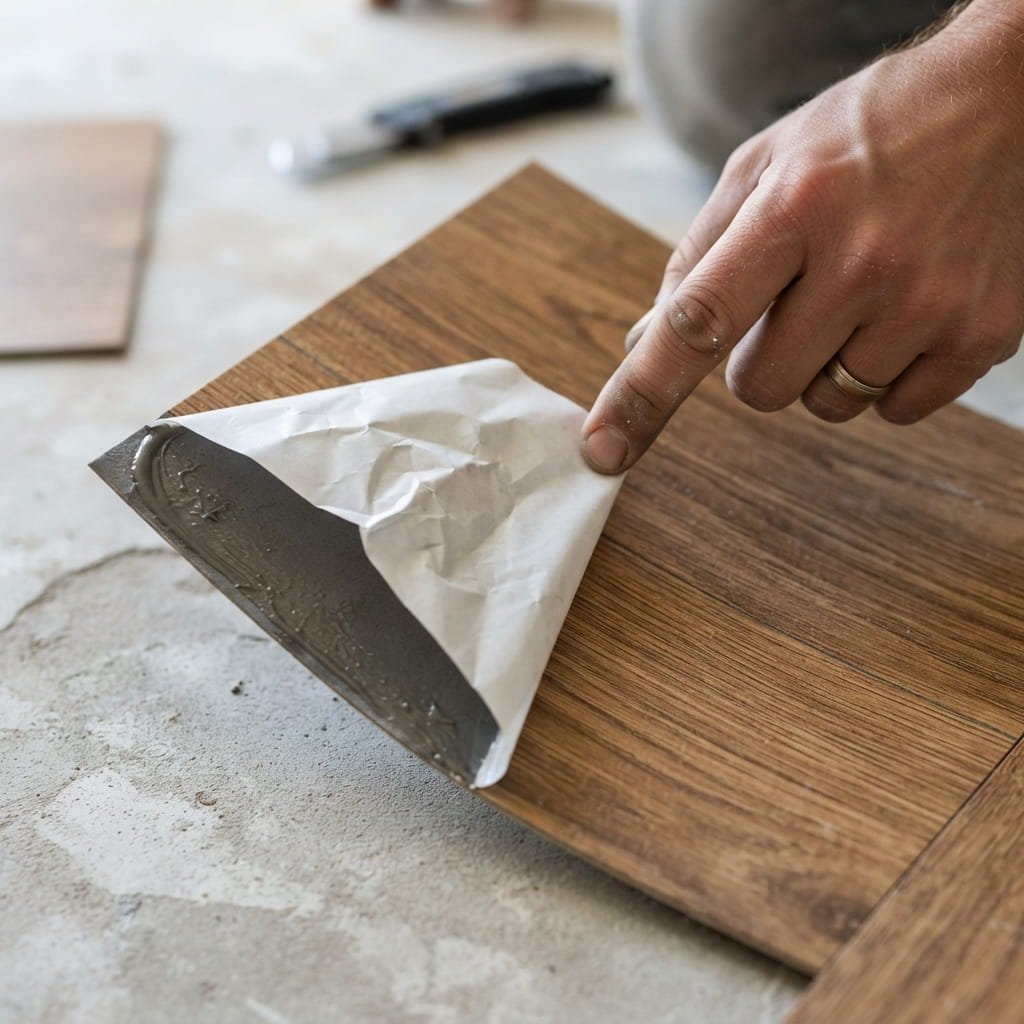
Quick answer: Peel and stick floor tiles are vinyl, composite, or luxury vinyl tile (LVT) squares with a pre-applied adhesive backing. You peel off a protective paper layer and press the tile directly onto a clean subfloor, no thinset, mortar, or grout required.
Under that adhesive layer, most tiles use one of three materials: standard vinyl (thin, flexible, cheapest), stone composite (rigid, heavier, more realistic texture), or LVT (a thicker, multi-layer vinyl built to mimic hardwood or natural stone). The wear layer on top determines how well a tile resists scuffs, and it’s usually the first spec worth checking before the pattern.
How Much Do Peel and Stick Floor Tiles Cost?
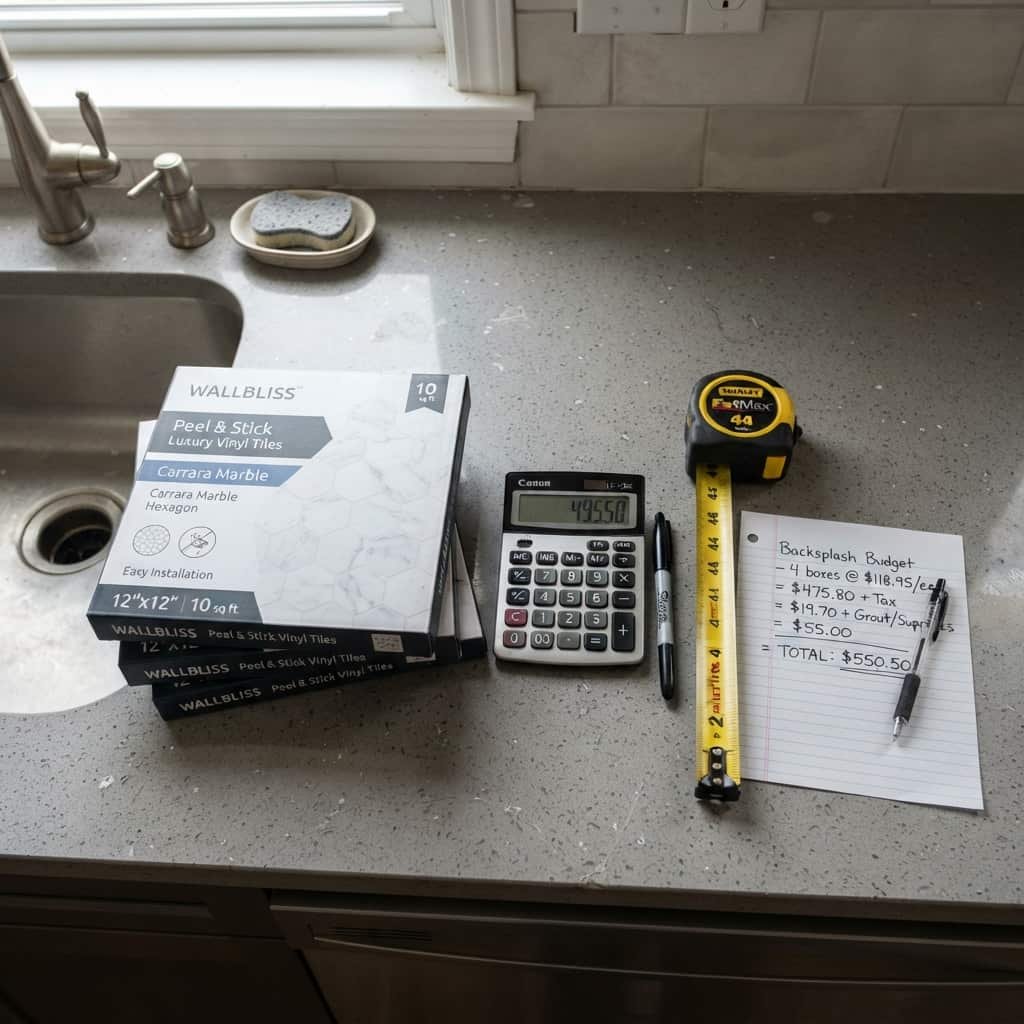
Material runs roughly $1 to $5 per square foot in the US, with most mid-range kitchen options landing between $1.50 and $3. Because installation is DIY, you’re skipping the $3 to $6 per square foot that professional tile setters typically charge for labor. Budget another $30 to $50 for a utility knife, straightedge, and a J-roller to press out air bubbles.
For a 150-square-foot kitchen, that puts peel and stick floor tiles at roughly $225 to $525 total, materials and tools included. The same kitchen in ceramic tile, once labor is added, often runs $1,200 or more. That gap is the entire reason peel and stick floor tiles keep showing up in kitchen renovation videos: the upfront math is hard to beat.
Pros of Peel and Stick Floor Tiles
- Fast, low-skill installation. A tape measure, a utility knife, and a free afternoon are usually enough to finish a small kitchen.
- No demolition required. In most cases you install right over existing vinyl, laminate, or tile, as long as the surface is flat and clean.
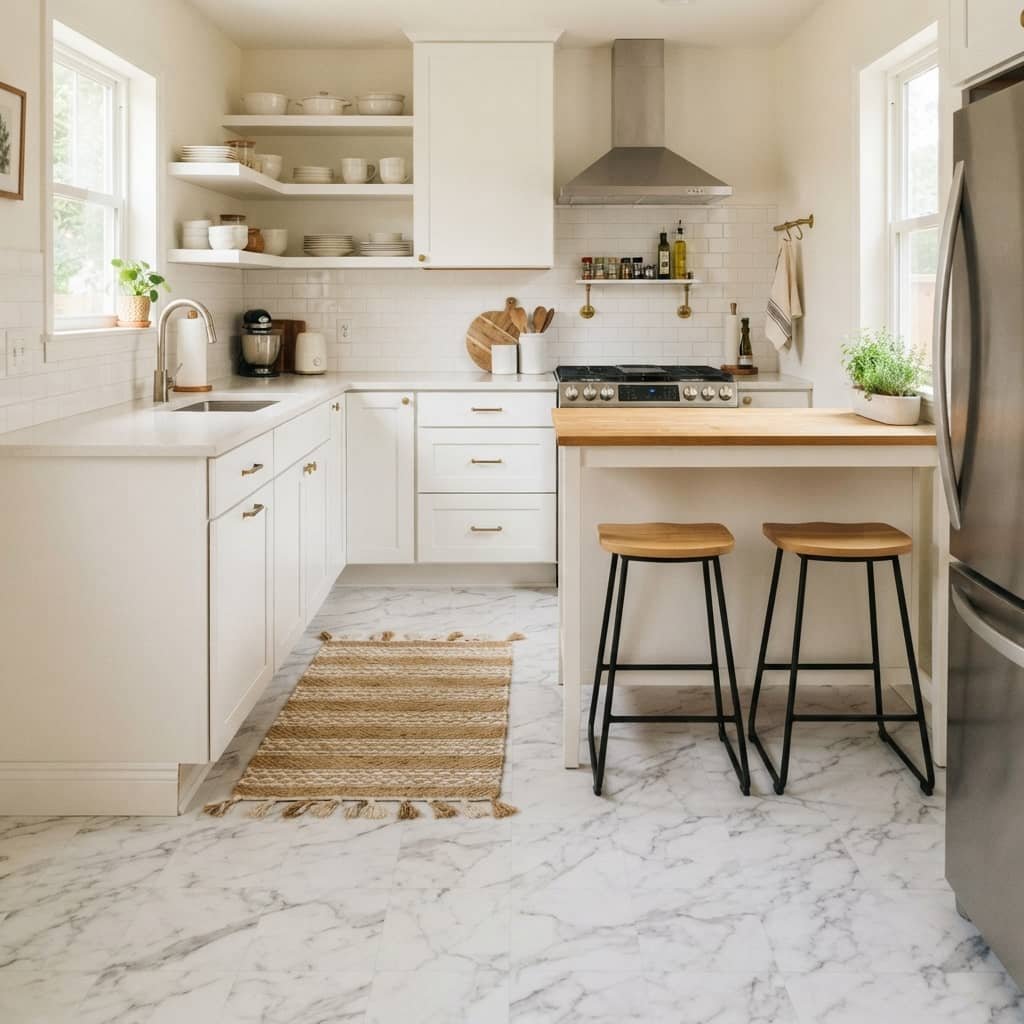
- Wide style range. Wood-look planks, marble-look squares, and bold pattern tiles all show up in the same product lines, often side by side.
- Renter-friendly. Because there’s no thinset or grout, a full sheet can usually be lifted at lease-end with a hair dryer to soften the adhesive.
- Easy spot repairs. A single damaged tile can be swapped without disturbing the rest of the floor, unlike sheet vinyl or linoleum.
Cons of Peel and Stick Floor Tiles
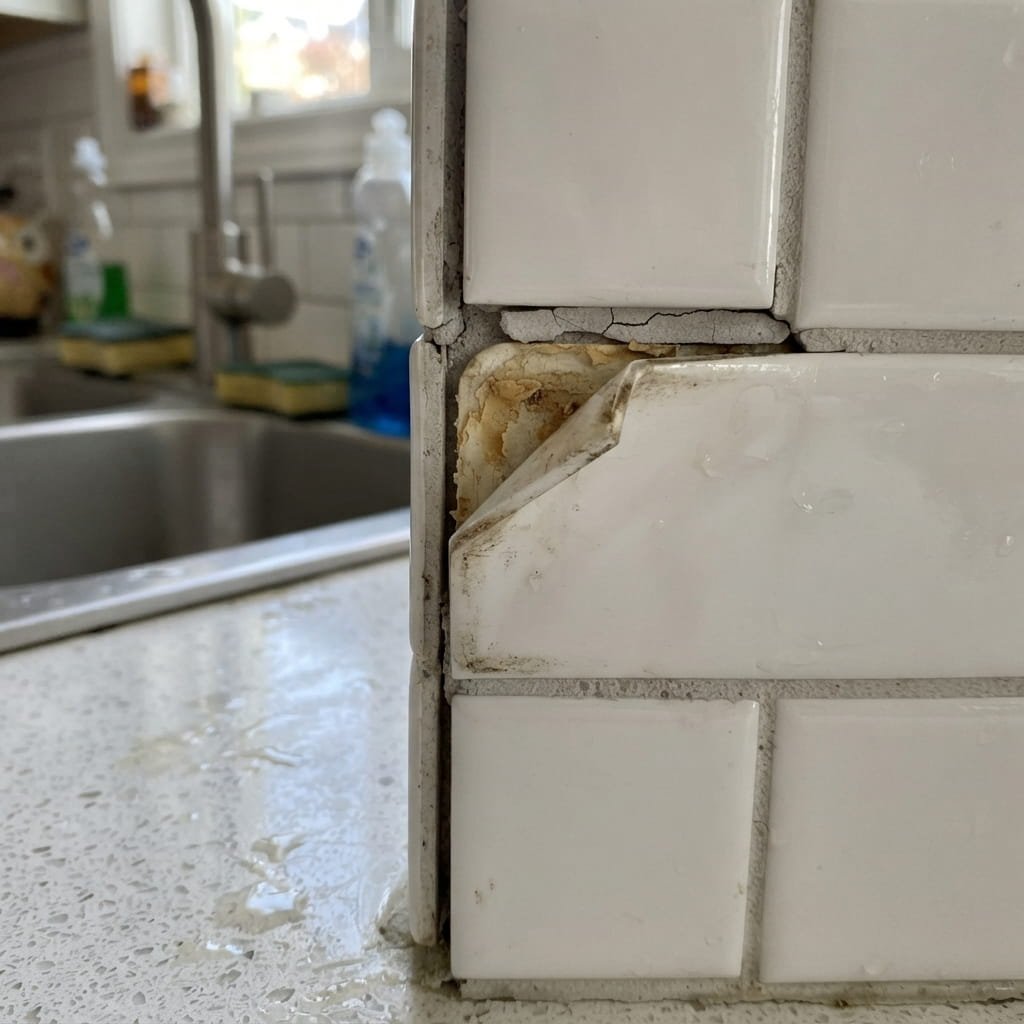
- Shorter lifespan than permanent flooring. Most kitchen installs hold up for 5 to 10 years depending on tile quality and foot traffic, versus decades for ceramic or stone.
- Subfloor sensitivity. Bumps, dust, or leftover adhesive residue under the tile telegraph through the surface and cause lifting.
- Water-resistant, not waterproof. Standing water at a sink or dishwasher can work under the seams and loosen the bond over time.
- Adhesive weakens with heat and humidity. A kitchen near a stove, a sunny window, or a humid climate puts extra strain on the bond line.
- Harder to color-match later. Product runs get discontinued, so replacing one tile years down the line can mean a visible mismatch.
Best Rooms for Peel and Stick Floor Tiles
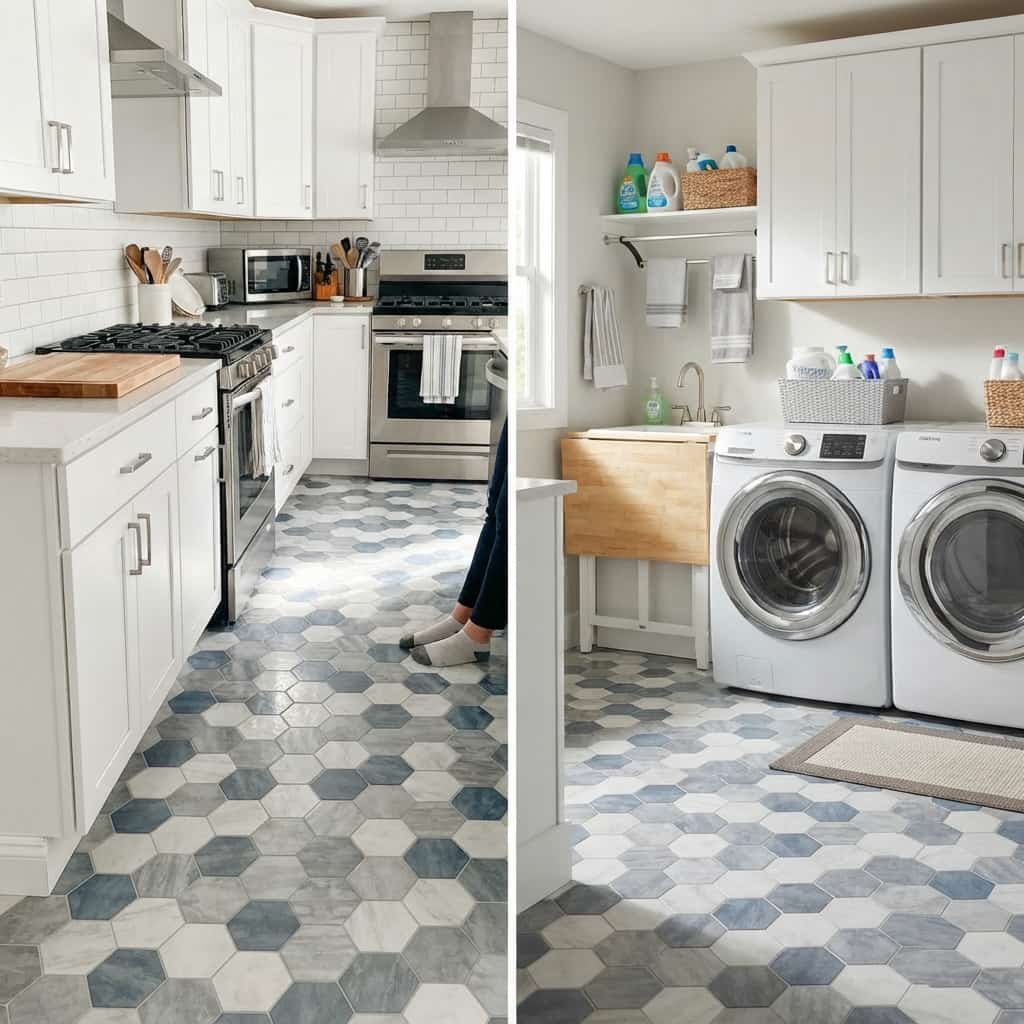
Peel and stick floor tiles do best in low-to-moderate traffic, dry-to-lightly-damp rooms: kitchens with a sound, sealed subfloor, laundry rooms, home offices, and mudrooms. In a kitchen specifically, they hold up best when spills get wiped up quickly and the sink area gets a bead of clear sealant along the tile seams. They’re a weaker fit for spaces with constant standing water, like the floor directly in front of a walk-in shower, or for sunrooms and enclosed porches with wide temperature swings.
How to Choose the Right Peel and Stick Floor Tiles for a Kitchen
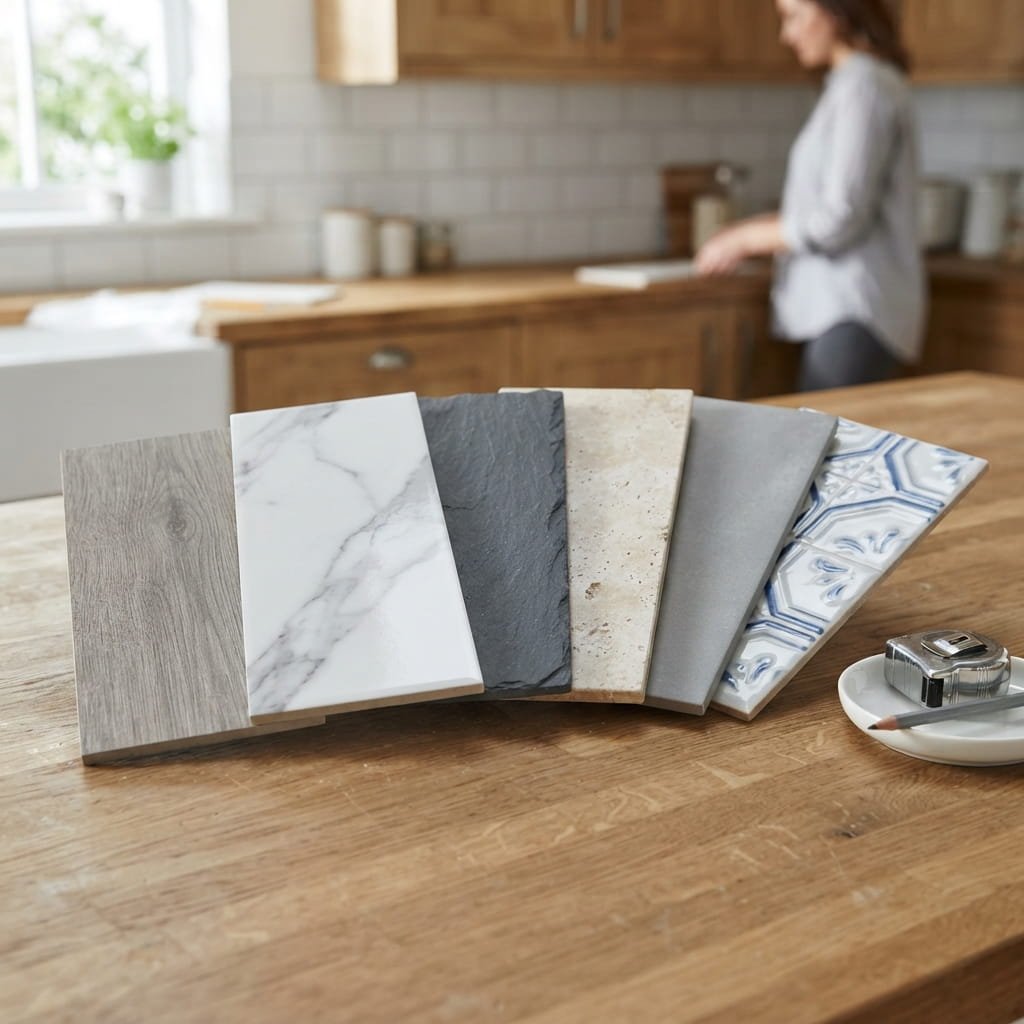
Not every box on the shelf performs the same, and the differences matter more in a kitchen than almost anywhere else in the house.
- Material. Vinyl is the most flexible and forgiving for a DIY first attempt. Stone composite and LVT cost more but resist dents from dropped pots better.
- Thickness. Tiles in the 2 to 5 mm range feel more stable underfoot and hide small subfloor imperfections better than paper-thin budget options.
- Finish. Matte finishes hide flour dust, water spots, and scuffs far better than glossy ones, which show every mark under kitchen lighting.
- Adhesive quality. This is the single biggest factor in whether a kitchen install lasts two years or eight. Read reviews specifically for adhesion complaints before checking the pattern.
- Groutable vs. ungroutable. A handful of thicker vinyl tiles accept light grout lines for a more convincing ceramic look, though most standard peel and stick tiles are designed to butt edge to edge instead.
Ordering a small sample pack before buying a full case is worth the extra few dollars. It lets you test how the tile grips your specific subfloor and how the color reads under your kitchen’s actual lighting.
How to Install Peel and Stick Floor Tiles in a Kitchen
I tested a batch of these in my own kitchen before writing this, and the steps that actually mattered were surface prep and layout, not the peeling and sticking itself.
- Clean and degrease the subfloor. Sweep, then mop with a degreasing cleaner, since kitchen floors carry more grease film than any other room in the house. Let it dry fully, ideally overnight.
- Let tiles acclimate. Leave the box in the kitchen for 24 to 48 hours so the vinyl adjusts to the room’s temperature and humidity before you commit to a layout.
- Dry-lay before sticking. Lay a full row without peeling the backing to check pattern direction and plan where cut tiles will land, ideally against a wall or under cabinets rather than in the middle of the floor.
- Start from the center and work out. Snap a chalk line through the room’s center, then work outward in both directions so cuts at the edges stay even on all sides.
- Press and roll. Peel the backing, set the tile, then go over it with a J-roller to push out trapped air before it fully sets.
- Cut around obstacles. Use a utility knife and a paper template for cabinet toe-kicks, floor vents, and the base of the sink cabinet.
- Seal high-splash zones. Run a thin bead of clear silicone along the seams closest to the sink and dishwasher once the full layout is set.
Most manufacturers recommend keeping heavy foot traffic off the new floor for the first 24 hours while the adhesive fully cures.
Common Mistakes to Avoid
- Skipping the degreasing step. Regular sweeping and mopping doesn’t cut kitchen grease film, and adhesive won’t bond to it.
- Installing over a damp subfloor. Even faint moisture under the tile shows up as bubbling within days, not months.
- Rushing the layout. A crooked starting row compounds across the whole kitchen and gets more obvious with every additional tile.
- Skipping a primer when the manufacturer calls for one. Some porous or older subfloors need it for the adhesive to grip properly.
- Using tiles outdoors or in unconditioned spaces. UV exposure and temperature swings break down the adhesive far faster than normal indoor use.
Peel and Stick Floor Tiles: Frequently Asked Questions
Are peel and stick floor tiles waterproof? No. They’re water-resistant, which means brief spills wipe up fine, but standing water at the seams over time can loosen the adhesive. Sealing the seams near a sink helps close that gap.
Can I install peel and stick floor tiles over old flooring? Yes, over most smooth, flat surfaces like vinyl, laminate, or existing tile. Skip carpet, and skip any surface with visible unevenness, since bumps will show through the new tile.
How long do peel and stick floor tiles last? Most quality kitchen installs last 5 to 10 years with normal use. Thin budget vinyl sits at the low end, thicker LVT-style tiles toward the higher end, and both shorten if the subfloor wasn’t properly prepped.
Can I remove peel and stick floor tiles without damaging the floor underneath? Usually, yes. Warming the tile with a hair dryer softens the adhesive enough to lift it cleanly. Any leftover residue typically comes off with warm water and a plastic scraper.
Are Peel and Stick Floor Tiles Worth It for a Kitchen?
For a rental kitchen, a starter home, or anyone who wants a real style change without a multi-week renovation, yes, peel and stick floor tiles are worth it. The cost is low enough that a mistake isn’t expensive to fix, and the install fits into a single weekend. For a forever kitchen with heavy daily traffic and a lot of standing water near the sink, treat these tiles as a strong five-to-ten-year refresh rather than a permanent floor, and budget for ceramic or LVT down the line if long-term durability matters more than upfront cost.
Ready to tackle the rest of the kitchen? Our guides on budget backsplash ideas and cabinet refresh projects cover the next weekend project once the floor’s done.

Pingback: Tile and Grout Cleaning: The Complete Guide (2026) - kitchennista.com
Pingback: How to Tile a Shower: Complete DIY Guide (2026)