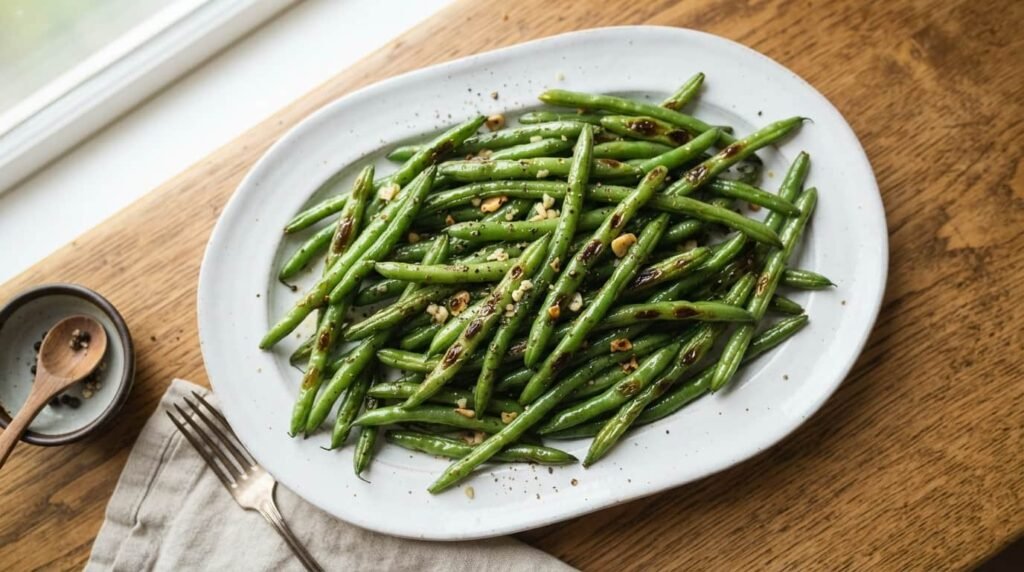
Sautéed Green Beans Recipe: A Quick and Flavorful Side Dish
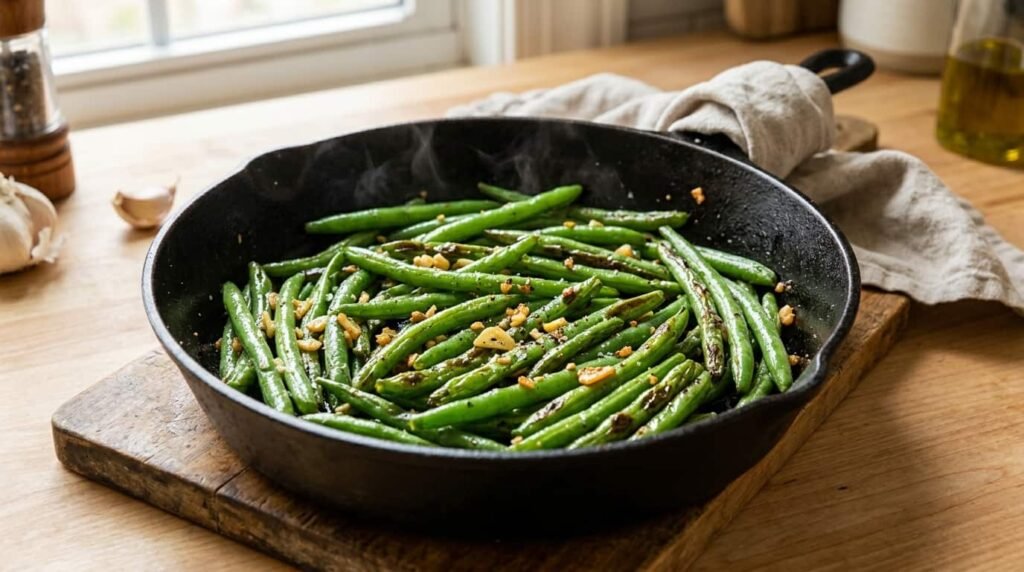
Green beans can be one of the easiest vegetables to prepare, yet they often turn out soft, watery, or lacking flavor. The secret to a better side dish is to control the heat, keep excess moisture out of the pan, and add garlic at the right time. This sautéed green beans recipe uses a skillet and a handful of everyday ingredients to produce beans with lightly browned edges and a tender-crisp center in about 15 minutes.
Unlike recipes that require a separate pot of boiling water, this method cooks fresh green beans directly in the pan. That means fewer dishes and less preparation. Serve them alongside roasted chicken, grilled fish, steak, pasta, or a simple rice bowl. You can also change the seasoning to suit the rest of your meal without learning an entirely new recipe.
What Makes This Sautéed Green Beans Recipe Work?
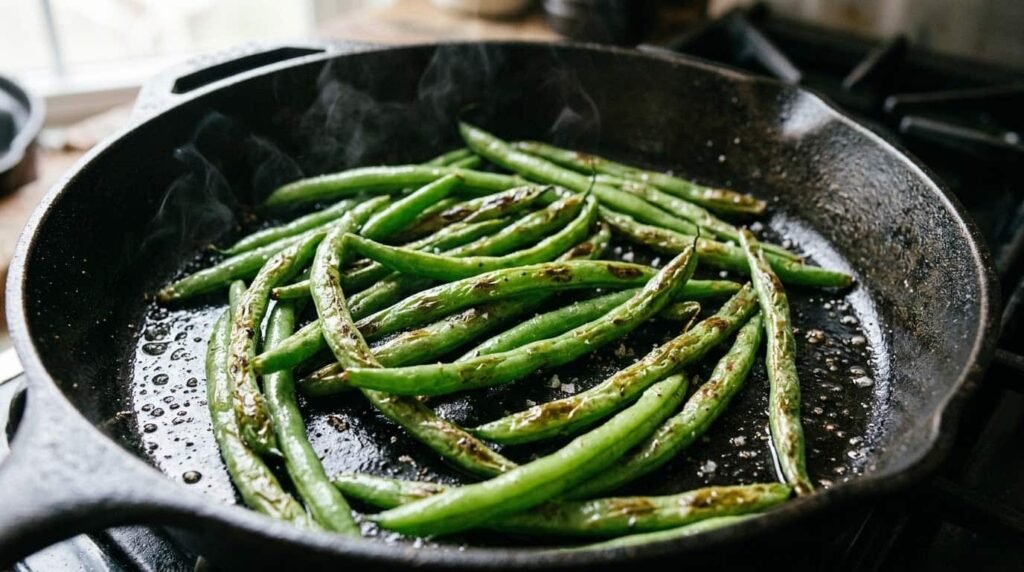
The main advantage of sautéing is the direct contact between the beans and the hot skillet. Instead of cooking entirely in water, the beans develop small browned spots that add a deeper, roasted flavor.
Three details make the biggest difference:
-
Dry vegetables brown better: Water left on the surface creates steam and slows browning.
-
A wide pan gives better results: Green beans need room to spread out instead of forming a thick pile.
-
Garlic goes in near the end: Minced garlic cooks quickly and can become bitter if left in hot oil for the entire cooking time.
The method also gives you control over texture. You can stop cooking when the beans are still crisp or continue for a few minutes if you prefer them softer.
A useful kitchen habit is to taste one bean before removing the pan from the heat. Cooking times vary with the thickness of the beans, the skillet material, and the amount in the pan. A quick taste is more reliable than following the clock alone.
Ingredients for Garlic Sautéed Green Beans
Serves approximately 4 as a side dish.Choose firm, bright green beans that snap when bent. Avoid beans with slimy patches, extensive brown spots, or a shriveled appearance.

Olive oil — 1 to 2 tablespoons
Use enough to lightly coat the beans and prevent sticking. Avocado oil is another suitable option.

Garlic — 2 to 3 cloves
Finely mince the garlic so it spreads throughout the dish. Add it toward the end to protect its flavor.

Seasonings and optional extras
Start with about ¼ teaspoon of salt and black pepper to taste. Keep lemon juice, butter, Parmesan, or red pepper flakes nearby if you want additional flavor.
You will also need a large skillet, a spatula or wooden spoon, a colander, and a clean kitchen towel or paper towels. A skillet with a broad cooking surface is more useful here than a small saucepan.
How to Make Sautéed Green Beans Step by Step


Step 1: Wash, Trim, and Dry the Beans
Rinse the green beans under cool running water. Cut or snap off the stem ends, then spread the beans on a clean towel and dry them thoroughly.
There is no need to remove the pointed tips unless you prefer the appearance. If some beans are much longer than others, cut them into manageable pieces so they cook more evenly.
This preparation step can seem minor, but it directly affects the result. Beans that go into the skillet dripping wet release moisture and may soften before they have a chance to brown.
Step 2: Heat the Skillet Properly
Place a large skillet over medium-high heat and add the olive oil. Let the oil warm until it shimmers lightly, but do not allow it to smoke heavily.
A stainless-steel or cast-iron skillet can produce good browning, while a nonstick skillet makes stirring and cleanup easy. Whichever you use, choose one with enough room for the beans to spread out.
If your pan cannot accommodate the full pound without crowding, cook the beans in two batches. A little extra cooking time is better than a pan full of steamed vegetables.
Step 3: Sauté the Green Beans
Add the dry beans to the hot skillet and spread them into a reasonably even layer. Cook for approximately 6–8 minutes, stirring or turning them every minute or so.
Look for bright green color, a few golden or blistered patches, and a gradual change in texture. The beans should not be blackened or swimming in liquid.
If the beans brown too quickly while remaining very firm, reduce the heat slightly. If they release moisture and appear to be steaming, spread them out or cook the next batch with fewer beans.
Step 4: Add Garlic and Seasonings
When the beans are nearly tender, add the minced garlic. Stir for another 1–2 minutes, keeping the garlic moving around the pan.
Add salt and black pepper, then taste a bean. If the center is still too firm, continue cooking briefly and test again. If the pan looks dry before the beans are ready, lower the heat and add a small splash of water to help them soften without burning the garlic.
Avoid pouring in a large amount of water. The goal is to finish cooking the beans, not turn the dish into a boiled vegetable side.
Step 5: Finish and Serve
Remove the skillet from the heat once the beans reach your preferred texture. Add a squeeze of lemon juice for freshness or a small pat of butter for a richer finish.
For extra crunch, scatter toasted sliced almonds over the top. If you enjoy a little heat, add red pepper flakes. Serve immediately while the beans still have their best texture.
Should You Blanch Green Beans Before Sautéing?
Blanching means briefly cooking vegetables in boiling water and then transferring them to ice water to stop the cooking process. It is optional for this recipe, and the better choice depends on how you like your green beans.
| Method | Best for | Main drawback |
|---|---|---|
| Direct sautéing | Faster preparation and fewer dishes | Beans may stay firmer in the center |
| Blanching first | Softer beans and easier advance preparation | Requires an extra pot and more cleanup |
For direct sautéing, cook the raw beans in the skillet until they reach the desired tenderness. If you prefer blanching, boil the trimmed beans for approximately 2–4 minutes, depending on thickness, then transfer them to ice water. Drain and dry them thoroughly before finishing in the skillet with oil and garlic.
Blanching is particularly useful when preparing a large meal with several side dishes. You can cook the beans partially ahead of time, then finish them in a hot skillet shortly before serving. However, for a regular weeknight dinner, direct sautéing is usually the simpler option.
Can You Make Sautéed Green Beans with Frozen Beans?
Yes, frozen green beans work when fresh ones are unavailable. However, expect a somewhat softer texture because frozen beans are generally blanched before freezing and can release moisture as they heat.
For better results, follow these practical steps:
-
Check the package instructions and thaw the beans if appropriate.
-
Drain any liquid and pat the beans dry.
-
Heat the skillet and oil before adding the beans.
-
Cook in smaller batches if the pan becomes crowded.
-
Add garlic near the end, then season and serve.
You can also cook frozen beans directly from frozen, but they may release more water and take longer to brown. Avoid adding a lid unless the beans need extra help softening, because trapped steam works against the browned texture that makes sautéed green beans appealing.
If crispness is your main priority, fresh green beans are the better choice.
How Do You Keep Green Beans Crisp Instead of Mushy?
The difference between tender-crisp beans and mushy ones usually comes down to moisture, pan temperature, and cooking time.
Start with dry beans. After washing, remove as much surface water as possible. This helps the hot oil brown the vegetables instead of spending time evaporating excess water.
Give them space. A single loose layer is ideal. When the pan is crowded, moisture builds up and the beans cook more like steamed vegetables. If necessary, use two batches.
Check the texture early. Begin tasting around the 8-minute mark, especially when using thin beans. Some batches will need less time, while thicker beans may need longer.
Do not keep cooking out of habit. Green beans do not need to become completely soft to be ready. They should be easy to bite through while retaining some resistance.
One practical approach is to remove a test bean with tongs, let it cool briefly, and taste it. This helps you judge the center without relying on color alone.
Common Mistakes That Affect the Final Result
Even a simple skillet recipe can disappoint when a few small details are overlooked.
-
Using a cold pan: The beans may soften before browning. Heat the skillet and oil before adding the vegetables.
-
Stirring constantly: Frequent movement limits sustained contact with the hot surface. Turn the beans periodically instead.
-
Burning the garlic: Garlic added at the beginning may become bitter before the beans finish cooking. Add it during the final 1–2 minutes.
-
Adding too much liquid: A large splash of water can leave the beans wet and soft. Use only a small amount if they need help finishing.
-
Seasoning without tasting: Salt requirements vary with personal preference and other ingredients. Start with a modest amount and adjust at the end.
-
Using beans of very different sizes: Thin beans may finish before thick ones. Sort them by size or remove smaller beans earlier if needed.
If the beans are browned outside but too firm inside, lower the heat and cook them a little longer. If they are tender but pale, increase the heat briefly after excess moisture has evaporated, watching carefully to avoid scorching.
Six Easy Ways to Change the Flavor
Once you have mastered the basic sautéed green beans recipe, small additions can make it fit different meals.
1. Lemon and garlic
Add fresh lemon juice and a little zest after cooking. This combination works especially well with fish, chicken, and light pasta dishes.
2. Parmesan
Sprinkle finely grated Parmesan over the hot beans after removing the skillet from the heat. It adds a salty, savory finish.

3. Toasted almonds
Add toasted sliced almonds just before serving. Their crunch contrasts with the beans’ tender centers.
4. Spicy red pepper
Add a pinch of crushed red pepper flakes with the garlic. Start small and increase the amount to suit your taste.

5. Sesame and soy
Finish with a small splash of soy sauce and a few drops of sesame oil. Reduce added salt because soy sauce already contributes plenty.
6. Crispy bacon
Stir in cooked, crumbled bacon at the end. Use less oil if cooking the bacon in the same skillet and reserving some of its fat.
For the best results, choose one or two additions rather than combining everything. Lemon and Parmesan create a bright finish, while sesame and soy provide a more savory direction.
What Should You Serve with Sautéed Green Beans?
These green beans fit into everyday dinners because their flavor is flexible and their preparation does not require much attention once the pan is hot.
-
Roasted chicken: Garlic and olive oil complement the browned skin and savory seasoning.
-
Grilled salmon: Lemon-finished beans provide a fresh contrast to the fish.
-
Steak: Black pepper and a small amount of butter create a simple side for a richer main course.
-
Pasta: Serve the beans beside tomato-based pasta or toss them with cooked pasta, Parmesan, and a little extra olive oil.
-
Rice bowls: Combine the beans with rice, roasted vegetables, and your preferred protein for an easy meal.
-
Holiday dinners: Prepare the beans close to serving time so they retain more texture alongside roasts and other sides.
For a balanced plate, pair the vegetables with a protein source and a grain or starchy vegetable. The green beans add color, texture, and variety without requiring a complicated preparation process.
How Should You Store and Reheat Leftover Green Beans?
Allow leftovers to cool, then transfer them to a clean, airtight container and refrigerate promptly. For best quality, eat them within 3–4 days.
Reheating in a skillet generally produces a better texture than microwaving. Warm the beans over medium heat for a few minutes, stirring occasionally until heated through. If they seem dry, add a small splash of water or a little oil.
The beans may be softer after refrigeration because they continue to lose their original crispness. Avoid cooking them for too long a second time, as this can make the texture even less appealing.
You can also prepare some ingredients ahead. Wash and trim the beans, dry them well, and store them in the refrigerator in a suitable container. Mince the garlic shortly before cooking for the freshest flavor. Cooking the entire dish shortly before serving gives the best texture.
How long does it take to sauté fresh green beans?
Fresh green beans usually take about 8–10 minutes in a hot skillet over medium-high heat, plus a little time for preparation. Thin beans may cook faster, while thicker beans may need additional time.
Do green beans need to be boiled before sautéing?
No. You can cook fresh green beans directly in a skillet. Blanching is optional and is useful when you prefer softer beans or want to prepare them in advance.
Why are my sautéed green beans tough?
They may need more cooking time, particularly if they are thick or mature. Lower the heat slightly if the outside is browning too quickly, then continue cooking until the center reaches your preferred tenderness.
Can I make sautéed green beans without garlic?
Yes. Use olive oil, salt, and black pepper as the base, then add lemon juice, fresh herbs, toasted nuts, or Parmesan if desired. The recipe works without garlic.
Can I prepare green beans ahead of time?
Yes. Wash, trim, and dry the beans ahead of cooking, then refrigerate them. For the best texture, sauté them close to serving time rather than fully cooking them hours in advance.
Are sautéed green beans suitable for meal prep?
Yes. They can be portioned alongside rice, chicken, fish, or other meal-prep ingredients and refrigerated. Expect a softer texture after storage and reheating than when they are freshly cooked.
A reliable sautéed green beans recipe does not need complicated ingredients or several cooking steps. Start with dry beans, give them room in a hot skillet, and add garlic near the end. Once you understand how heat and moisture affect the texture, you can adjust the timing and seasonings to suit your kitchen, your meal, and your preferences.