How to Fillet a Fish: A Step-by-Step Guide for Home Cooks
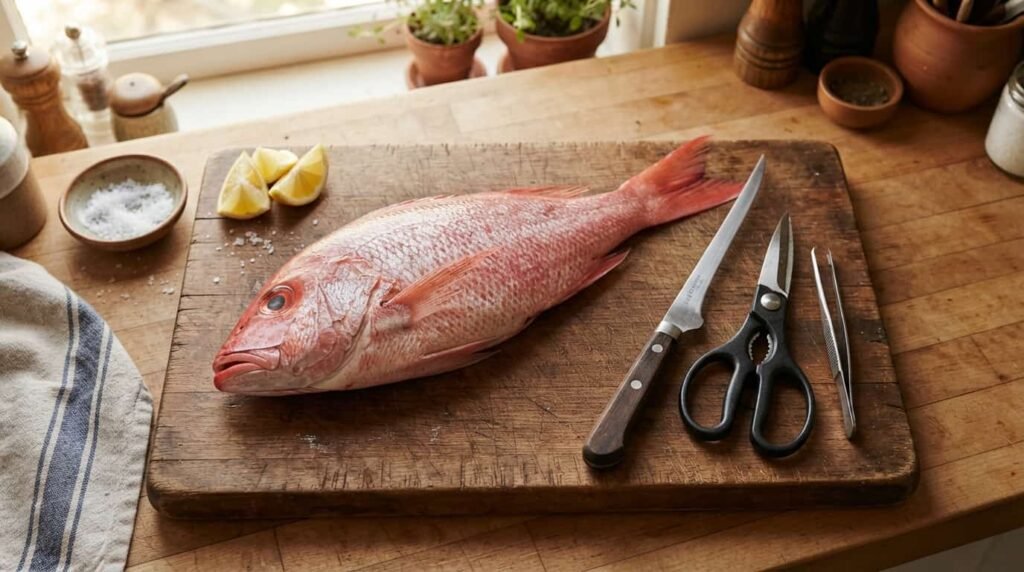
Knowing how to fillet a fish turns an intimidating whole fish into two clean, boneless pieces you can cook the same day. Whether you bought a whole snapper at the market or came home with a cooler full of your own catch, the process comes down to the same handful of cuts, a sharp knife, and a little patience. Once you’ve done it a few times on your own cutting board, it stops feeling like a special skill and starts feeling like just another Tuesday night dinner prep.
Quick Answer: How Do You Fillet a Fish?
To fillet a fish, lay it on its side with the backbone facing you, cut behind the gills down to the spine, then run your knife flat against the bones from head to tail to free the top fillet. Flip the fish and repeat on the other side. From there, trim the rib bones, pull out any pin bones with tweezers, and skin the fillet if you want it skinless. The whole process usually takes less than 10 minutes once you’ve done it a few times.
What You Need to Fillet a Fish at Home
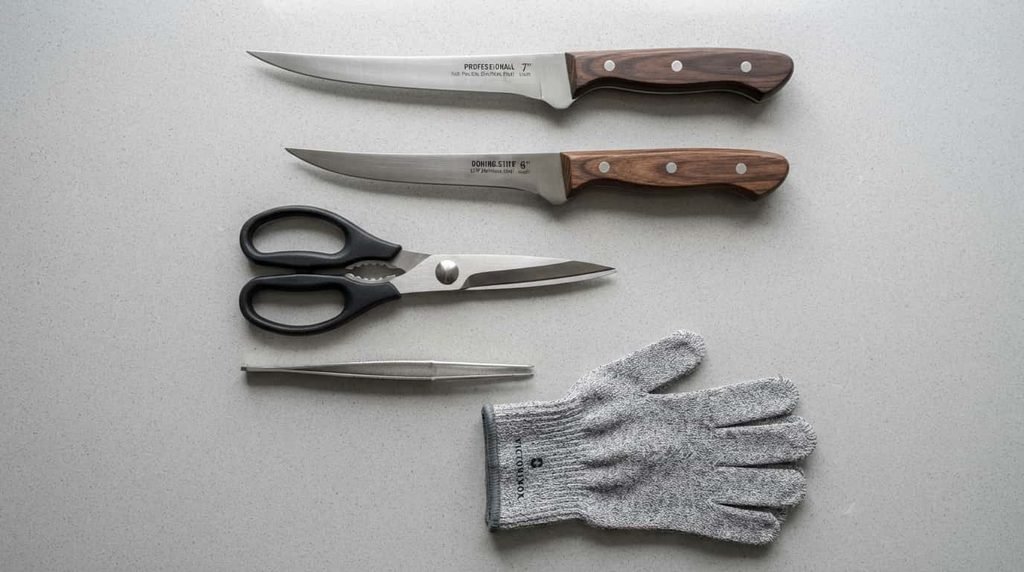
You don’t need a professional setup to get good results, but a few tools make the job much easier and safer.
- A fillet knife. This is the single most important tool. A fillet knife has a long, thin, flexible blade that bends slightly as you move it along the bones, which helps you leave more meat on the fillet and less on the carcass. A 6 to 7-inch blade is a comfortable starting length for most home cooks. If you don’t own one yet, a boning knife or a straight-edged chef’s knife will get you through in a pinch; skip anything serrated, since it tends to tear the flesh instead of slicing it cleanly.
- A stable cutting board. A flat, non-slip surface matters more than people expect. Fish are slippery, and a board that shifts while you’re mid-cut is how accidents happen. A damp towel underneath the board will keep it anchored.
- Kitchen shears. Sturdy shears make quick work of trimming fins before you start, so they don’t get in your way or poke your hand while you work.
- Tweezers or fish pliers. You’ll need a dedicated, heavy-duty pair to pull out pin bones once the fillets are off. Regular tweezers from a bathroom drawer usually aren’t strong enough to grip a wet, oily bone.
- A cut-resistant glove. Not required, but genuinely useful. It protects your non-cutting hand and gives you a more secure grip on a slippery fish.
How to Prepare a Whole Fish Before Filleting
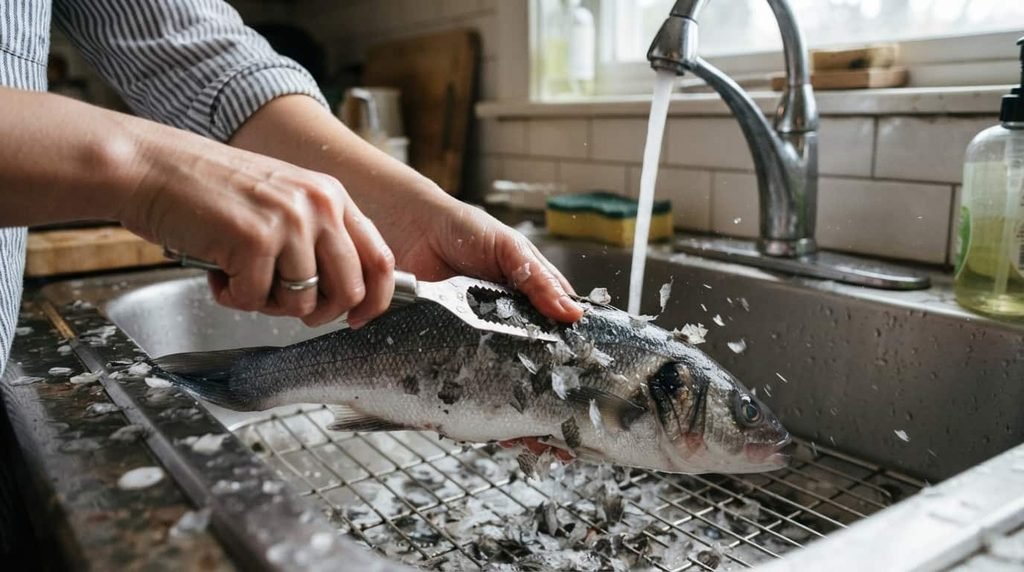
If you bought your fish from a grocery store or fish market, it’s usually already scaled and gutted, but it’s still worth checking for stray scales before you start. If you’re working with a fish you caught yourself, you’ll need to scale and gut it first.
To scale a fish, hold it firmly by the tail and run a fish scaler (or the dull back edge of a knife) against the grain, from tail to head, using short, firm strokes. Scales tend to fly everywhere, so doing this outside or in a large sink saves you cleanup later. Once scaled, rinse the fish well, then gut it by slitting the belly and removing the innards, being careful not to nick the gallbladder, which can give the whole fish a bitter taste if it ruptures.
Pat the fish dry before you fillet it. A dry fish and a dry hand both give you far more control over the knife than a slippery, wet one.
How to Fillet a Fish, Step by Step
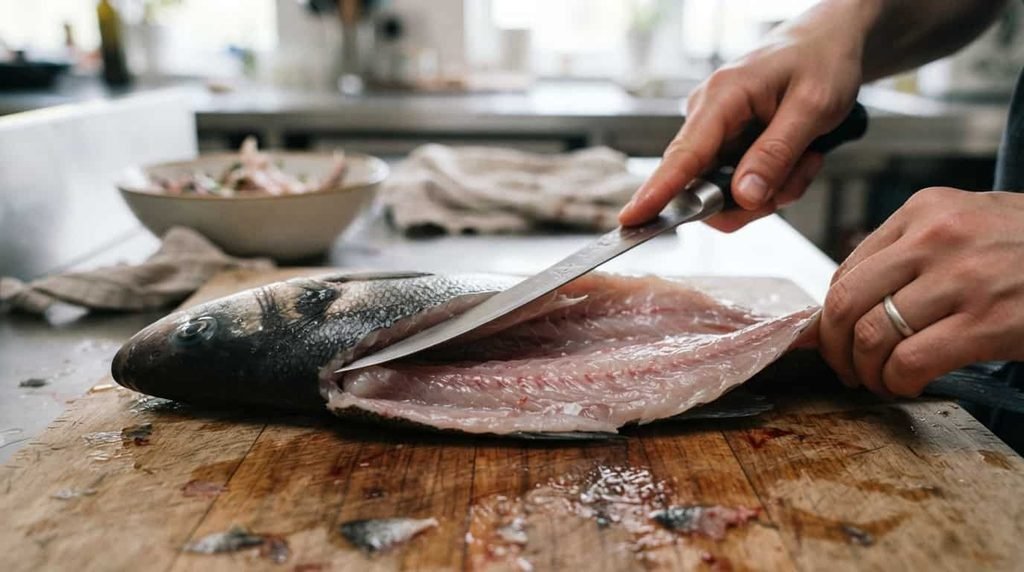
Once your fish is cleaned and dried, here’s how to fillet it from start to finish.
1. Make the first cut behind the head. Lay the fish on its side on your cutting board with the backbone facing you. Feel for the edge of the gill cover with your knife, and make a cut at roughly a 45-degree angle just behind it, angling down until you feel the blade touch the backbone. Don’t cut all the way through the spine, just down to it.
2. Slice along the backbone toward the tail. Starting from that first cut, turn the blade so it lies flat against the top of the backbone, and slice from head to tail in one long, smooth motion. Keep the knife angled slightly downward so it rides along the bones rather than into the flesh above them. You’ll hear a faint scraping sound as the tip moves against the ribs; that sound is actually helpful, since it tells you the knife is in the right spot.
3. Work over the rib cage. As you reach the belly area, you’ll feel a curved section of rib bones. Angle the knife slightly to follow their shape rather than cutting straight through, using short strokes to separate the meat from the ribs without wasting flesh.
4. Free the fillet. Continue the cut through to the tail, then finish by slicing through the skin at the tail end to fully separate the first fillet from the body. Set it aside, skin-side down.
5. Flip the fish and repeat. Turn the fish over so the second side faces up, and repeat steps 1 through 4. The motion is the same, just mirrored.
6. Trim the fillets. Once both fillets are off, trim away any thin, ragged edges or leftover rib bones with the tip of your knife. This is also a good time to give each fillet a final rinse and pat it dry.
If you lose your place partway through and start cutting into the flesh instead of along the bones, stop, pull the knife out, and go back to the last clean point in the cut rather than pushing forward. It’s a far easier fix than trying to correct course mid-slice.
How to Skin a Fish Fillet and Remove Pin Bones
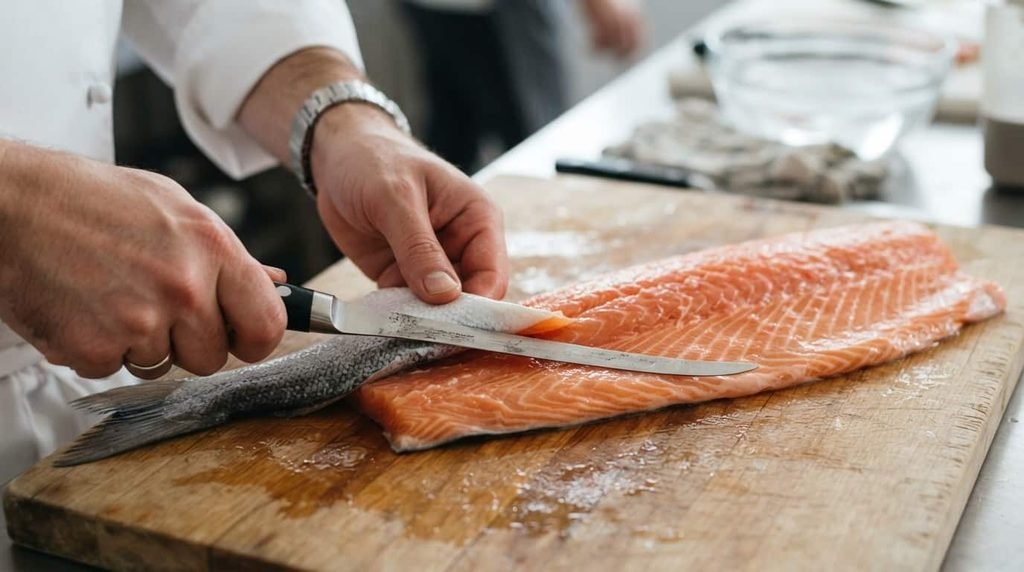
Even a well-cut fillet isn’t quite ready to cook until you’ve dealt with the skin and pin bones, depending on how you plan to cook it.
To remove the skin: Place the fillet skin-side down. Make a small cut into the flesh about half an inch from the tail end, cutting down until you just reach the skin without slicing through it. Hold the skin firmly at the tail with your non-cutting hand (a paper towel helps with grip), then angle the knife almost flat and glide it forward between the flesh and the skin, using a gentle side-to-side motion rather than a sawing one. Let the knife do the work instead of forcing it.
To remove pin bones: Run your fingertip gently along the center of the fillet, against the grain, to feel for the small bones that stick up. Grip each one with tweezers or fish pliers and pull it out at a slight angle in the direction it’s leaning, rather than straight up, which can tear the flesh. Pin bones tend to run larger near the head end and smaller toward the tail, so slow down as you work your way down.
If you plan to cook the fillet skin-on, such as for a crispy-skinned pan-seared piece, you can skip the skinning step entirely and go straight to checking for pin bones.
Filleting Flatfish and Other Tricky Shapes
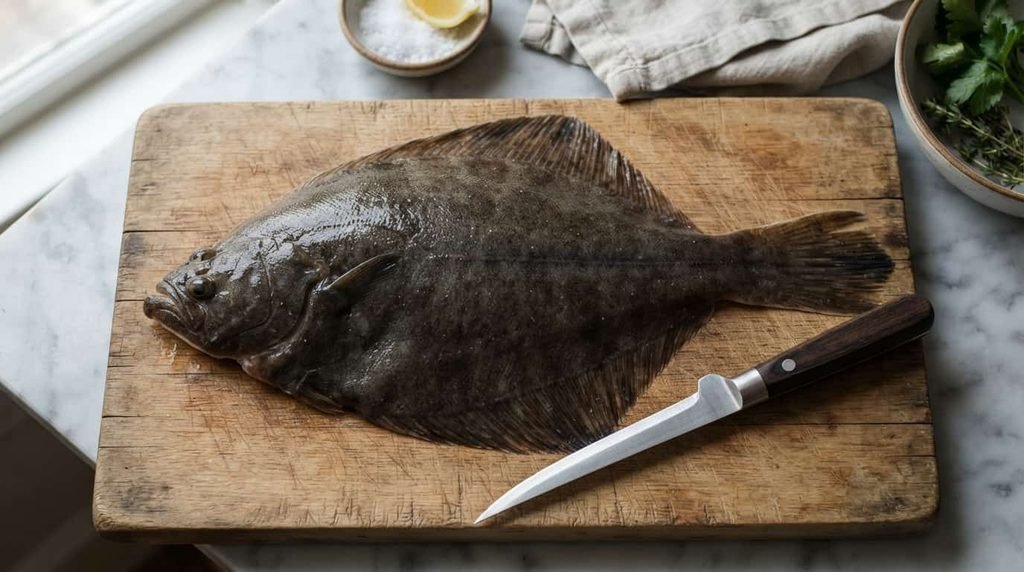
Most round fish, like salmon, snapper, trout, and bass, follow the same basic method above. Flatfish like flounder and sole are a little different because their bone structure includes a spine that runs horizontally down the center of the body rather than along one edge. Instead of one long fillet per side, many home cooks find it easier to cut flatfish into four smaller fillets, two from the top half and two from the bottom half, using that center spine as a natural stopping point rather than trying to curve the knife over it.
Larger or more expensive fish, like whole tuna or Chilean sea bass, are usually better left to a fishmonger. The higher cost of a mistake and the extra size make them a tougher first project, so it’s worth saving those for when you’ve built up some confidence on smaller, more affordable fish first.
Frequently Asked Questions About Filleting Fish

What’s the best knife to fillet a fish?
A dedicated fillet knife with a thin, flexible 6 to 7-inch blade is the best choice, since the flex lets it hug the shape of the bones as you cut. If you don’t have one, a boning knife or a straight-edged chef’s knife works as a substitute. Avoid serrated knives, which tend to shred the flesh instead of slicing it cleanly.
Do you have to gut a fish before you fillet it?
For home cooks, yes, it’s the safer approach. Gutting first lowers the risk of accidentally nicking an organ like the gallbladder, which can taint the flavor of the whole fish if it leaks onto the meat. Some experienced fishmongers skip this step, but that comes from years of practice reading exactly where those organs sit.
Why does my fillet still have bones in it?
Pin bones are easy to miss on a visual check alone, even on fish sold as “deboned.” Run your fingertips firmly along the fillet, against the grain, rather than just looking at it, and you’ll usually feel small bones poking up that your eyes skipped over. A second pass with tweezers after the first one catches most stragglers.
Can you fillet a fish without scaling it first?
Yes, if you plan to remove the skin afterward anyway, since the scales leave with the skin. If you want to keep the skin on for cooking, though, you’ll need to scale the fish first, or you’ll end up with a rough, unpleasant texture on the finished dish.
Storing and Using Your Fresh Fillets
Fresh fillets are best cooked the same day, but they’ll hold in the refrigerator for a day or two if needed. Store them flesh-side down on paper towels in a shallow, well-sealed container, since excess moisture and air exposure are what cause fish to lose quality fastest. If you’re not cooking within a couple of days, wrap the fillets tightly and freeze them; sealing out air is the difference between a fillet that tastes fresh months later and one that picks up freezer burn.
Don’t toss the frame once your fillets are off, either. The head and bones make a genuinely good stock base for chowders and soups, and any small scraps left on the carcass can be scraped off and worked into fish cakes or patties instead of going to waste.
Filleting a fish well isn’t about doing it perfectly on the first try. It’s a hands-on skill that gets noticeably easier every time you pick the knife back up, and even a slightly ragged fillet is still dinner. Give yourself the space to practice on something affordable, like trout or tilapia, before you take on a pricier fish, and it won’t be long before breaking down a whole fish feels like second nature in your own kitchen.