
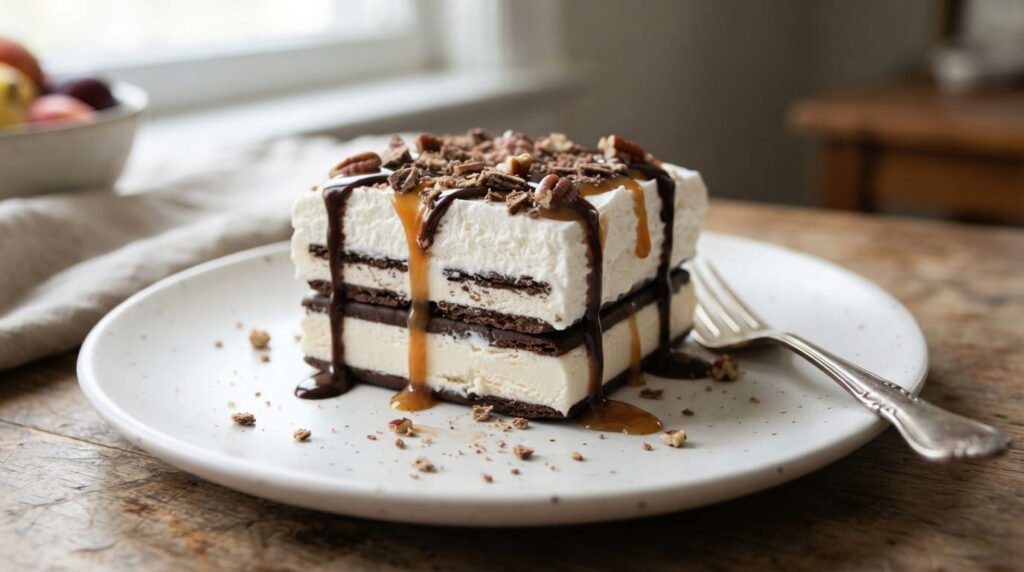
Ice Cream Sandwich Dessert: The Easy No-Bake Recipe Everyone Asks For
An ice cream sandwich dessert is a layered, no-bake treat made by stacking store-bought ice cream sandwiches with whipped topping and a drizzle of sauce, then freezing the whole thing until it slices like a cake. It takes about fifteen minutes of hands-on time, needs no oven, and turns a box of freezer-aisle ice cream sandwiches into something that looks like you fussed over it for hours. If you have ever wondered how people turn a simple lunchbox treat into a birthday centerpiece, this is how.
What Is an Ice Cream Sandwich Dessert?
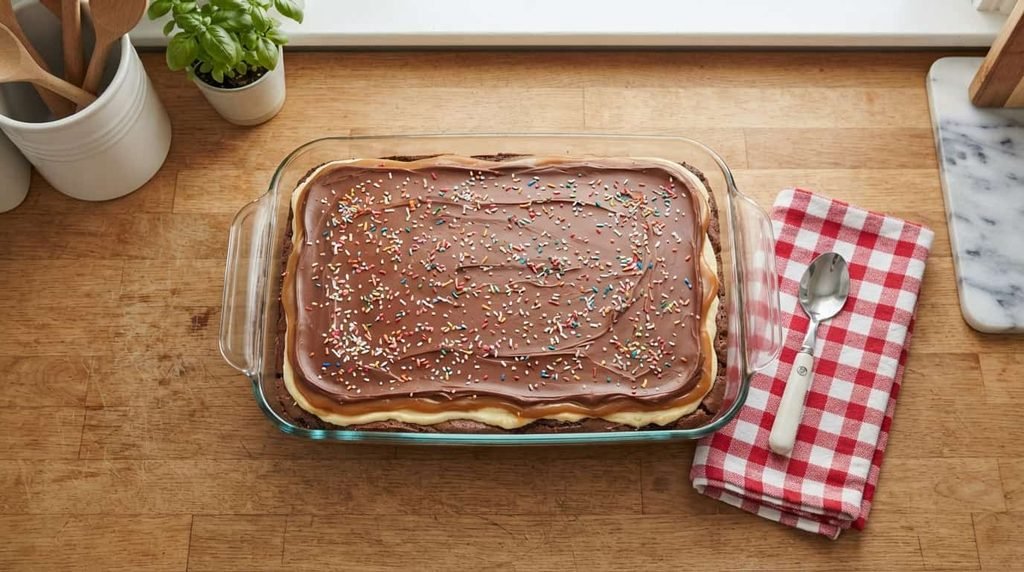
At its core, this is an icebox cake. Instead of baked cake layers, you use whole ice cream sandwiches as the “cake,” and instead of frosting, you use whipped topping, caramel, and chocolate sauce to hold everything together. The whole thing goes into the freezer, where it firms up and becomes sliceable, much like a traditional ice cream cake. Some people call it an ice cream sandwich cake, but the ingredients and method are the same either way.
What makes this dessert so popular is how forgiving it is. There is no baking step to mess up, no precise measuring, and no special equipment beyond a 9×13-inch pan. It also travels well once frozen and holds its shape at a cookout or party far better than scooped ice cream would.
Ingredients You’ll Need
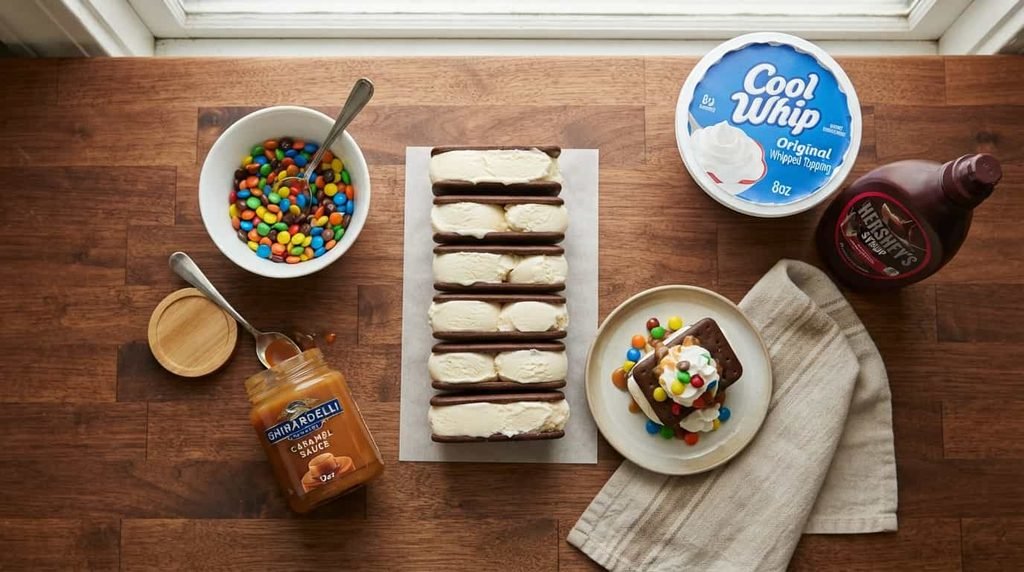
This dessert is built on a short, flexible ingredient list. You can find every item near the ice cream aisle of a regular grocery store.
- Vanilla ice cream sandwiches (about 20 to 24 for a full 9×13 pan, two layers)
- One tub of whipped topping, thawed in the refrigerator
- Caramel sauce or ice cream topping
- Chocolate syrup or hot fudge sauce
- Toppings of choice: mini M&Ms, crushed Oreos, toffee bits, chopped peanuts, or sprinkles
You can swap in chocolate, cookies and cream, mint chocolate chip, or Neapolitan sandwiches depending on what your family likes. The base method stays the same no matter which flavor you choose.
How to Make Ice Cream Sandwich Dessert (Step by Step)
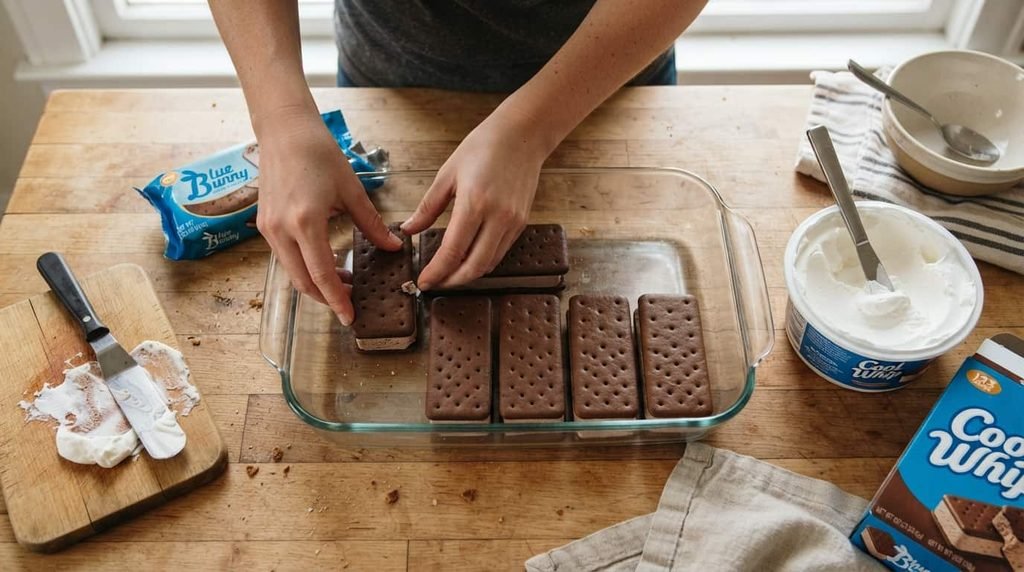
- Line the pan. Unwrap 10 to 12 ice cream sandwiches and lay them in a single, snug layer across the bottom of a 9×13-inch pan. Trim a sandwich with a knife if you need to fill in a corner.
- Add the first layer of toppings. Spread half of the whipped topping evenly over the sandwiches, then drizzle with caramel sauce and chocolate syrup. Sprinkle on half of whatever mix-in you’re using.
- Repeat. Unwrap the remaining sandwiches and lay them over the first layer. Top with the rest of the whipped topping, another drizzle of sauce, and the remaining toppings.
- Freeze. Cover the pan and freeze for at least four hours, though overnight gives the cleanest slices.
- Slice and serve. Let the dessert sit at room temperature for five to ten minutes before cutting, then slice into squares with a sharp knife.
Work quickly while assembling. Ice cream sandwiches soften fast once unwrapped, and a slightly melty layer is much harder to spread evenly than a firm one. If your kitchen runs warm, keep the second batch of sandwiches in the freezer until you’re ready to place them.
Quick Answer: How Many Ice Cream Sandwiches Do You Need for a 9×13 Pan?
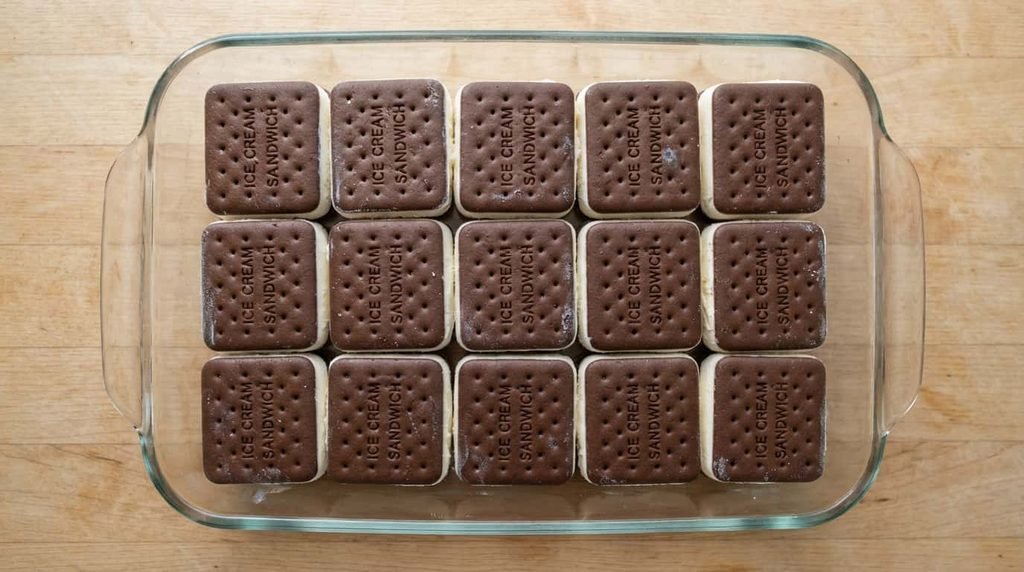
For a standard 9×13-inch pan with two layers, plan on 20 to 24 ice cream sandwiches, roughly 10 to 12 per layer. The exact count depends on the brand, since sandwich sizes vary slightly, so keep a couple extra on hand to patch gaps and corners.
Tips for the Best Ice Cream Sandwich Dessert

A few small choices make a noticeable difference in how this dessert turns out:
- Thaw whipped topping in the fridge, not on the counter. Room-temperature thawing makes it runny and harder to spread into clean layers.
- Choose a softer-textured ice cream sandwich brand if you can. Some budget brands are firmer and more crumbly, which makes trimming them to fit the pan trickier.
- Use a deep dish. A standard 9×13 pan with two full layers gets tall, so a deeper casserole dish or a foil pan with a domed lid works better than a shallow one.
- Warm your sauces slightly in the microwave for 15 to 20 seconds before drizzling. It makes them easier to pour in an even layer instead of sitting in one spot.
- Assemble in batches. Unwrap a few sandwiches, place them, and pull the next batch from the freezer only when you’re ready. This keeps everything firmer for a cleaner build.
It’s also worth knowing why some ice cream sandwiches hold their shape longer than others once they’re out of the freezer. Manufacturers often add stabilizers like guar gum or cellulose gum, along with a specific fat content, to control how the ice cream inside softens. That’s part of why two different brands of ice cream sandwiches can behave so differently when you’re racing to assemble this dessert on a warm afternoon.
Fun Variations and Topping Ideas
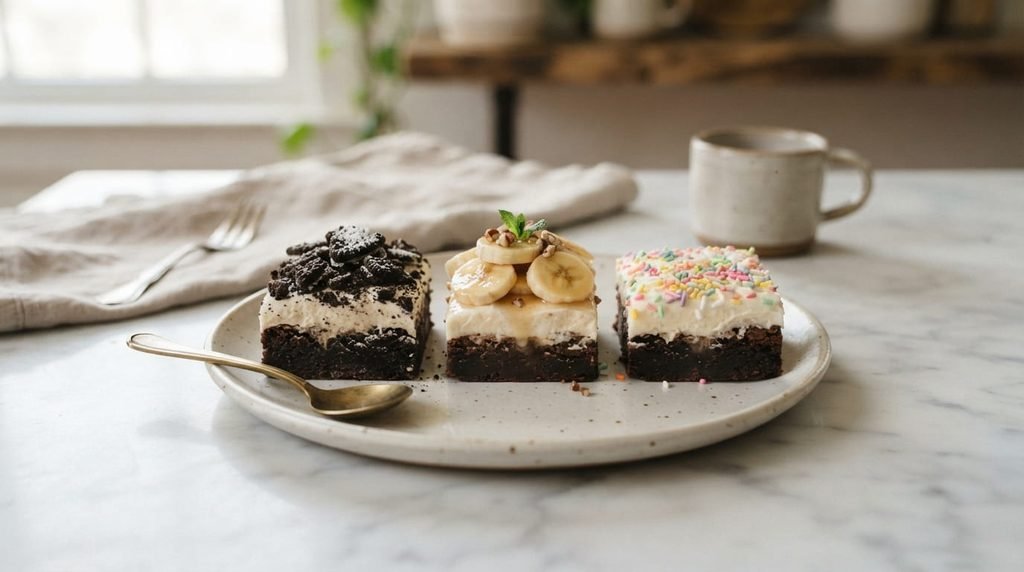
Once you’ve made the base recipe once, it’s easy to riff on it:
- Swap chocolate syrup for butterscotch or strawberry sauce for a different flavor profile.
- Mix crushed Oreos into the whipped topping layer instead of sprinkling them on top.
- Add a layer of sliced bananas for a banana split version.
- Use seasonal sprinkles or candy colors for a holiday, like red, white, and blue for a summer cookout or pastel tones for spring.
- Stack in a loaf pan instead of a 9×13 for a smaller batch that serves six to eight.
Because the base recipe uses so few ingredients, changing just one or two elements is enough to make it feel like a completely different dessert the next time you serve it.
Storage, Make-Ahead, and Freezing Tips
This dessert is genuinely make-ahead friendly, which is part of why it shows up so often at parties and potlucks. Assemble it up to a couple of days before you need it, cover tightly with plastic wrap or a lid, and leave it in the freezer until serving time. Well-wrapped, it holds well in the freezer for one to two weeks, and some versions keep even longer if double-wrapped against freezer burn.
When you’re ready to serve, pull it out about ten to twenty minutes ahead of time so it softens just enough to slice cleanly without shattering. A sharp knife wiped clean between cuts gives the neatest squares.
How Many People Does This Dessert Serve?
A full 9×13 pan of ice cream sandwich dessert typically cuts into 12 to 16 squares, depending on how generous you slice it. For a kids’ birthday party where portions run smaller, you can stretch it to 16 to 20 pieces. If you’re feeding a bigger crowd, a 13×9-inch sheet pan version doubled into a half-sheet pan will roughly double your servings without changing the method at all, just the pan size and sandwich count.
It’s also a practical dessert for anyone juggling a mixed group of ages. Kids tend to go for a smaller square with extra toppings on top, while adults often prefer a thinner slice, so cutting a mix of sizes from the same pan works better than forcing everyone into identical portions. Keeping a few sandwiches in reserve in the freezer means you can patch a pan that runs short or start a second one if the first disappears faster than expected, which, with this dessert, it usually does.
Frequently Asked Questions
Can I make ice cream sandwich dessert ahead of time?
Yes. This is one of the easiest make-ahead desserts because it’s built to live in the freezer. Assemble it up to a couple of days in advance, keep it tightly covered, and it will be ready whenever you need it.
Can I use homemade whipped cream instead of Cool Whip?
You can, but the texture will be softer and less stable. Whipped topping products like Cool Whip are stabilized to hold their shape through freezing and thawing, which is what keeps the layers looking clean when you slice the dessert. Homemade whipped cream tends to soften and weep faster once the dessert sits out.
Why do my ice cream sandwiches melt so fast while I’m assembling this?
Ice cream sandwiches soften quickly once they’re out of the freezer and unwrapped, especially in a warm kitchen. Working in small batches, keeping the next set in the freezer until needed, and having your toppings measured out ahead of time all help you move fast enough to keep the layers firm.
What’s the difference between an ice cream sandwich cake and an ice cream sandwich dessert?
Nothing meaningful. Both names describe the same style of layered, no-bake treat made from whole ice cream sandwiches, whipped topping, and sauce. Some recipes call it a cake because it’s sliced and served like one, while others simply call it a dessert.
Whether you’re planning a birthday party, a summer cookout, or just want a no-fuss freezer treat on hand, an ice cream sandwich dessert delivers a lot of payoff for very little effort. Give it a try the next time you need a crowd-pleasing dessert that doesn’t involve turning on the oven, and keep a few extra sandwiches in the freezer so you’re ready to make it again.


Pingback: Leafy Korean Dessert Cafe: Menu Guide (2026)