

King Arthur Pizza Dough Recipe
This King Arthur pizza dough recipe turns three cups of flour, a packet of yeast, and a splash of olive oil into a crust that works whether you want pizza tonight or two days from now. It’s the recipe King Arthur Baking has published for years, and it earns its reputation because it’s genuinely hard to mess up: no sourdough starter, no exotic flour, no guesswork about hydration percentages. You mix it, let it rise on your own schedule, and bake. Below you’ll find the exact measurements, both rise methods, and the fixes for the two problems that trip up most home bakers: dough that won’t stretch and a crust that never quite browns.
I’ve made this dough more times than I can count, on weeknights when the plan was “pizza in an hour” and on weekends when I mixed it Friday and didn’t bake until Sunday. Both ways work. That flexibility is really the whole point of this recipe, and it’s why it keeps showing up on so many home cooks’ regular rotation.
Ingredients for King Arthur Pizza Dough Recipe
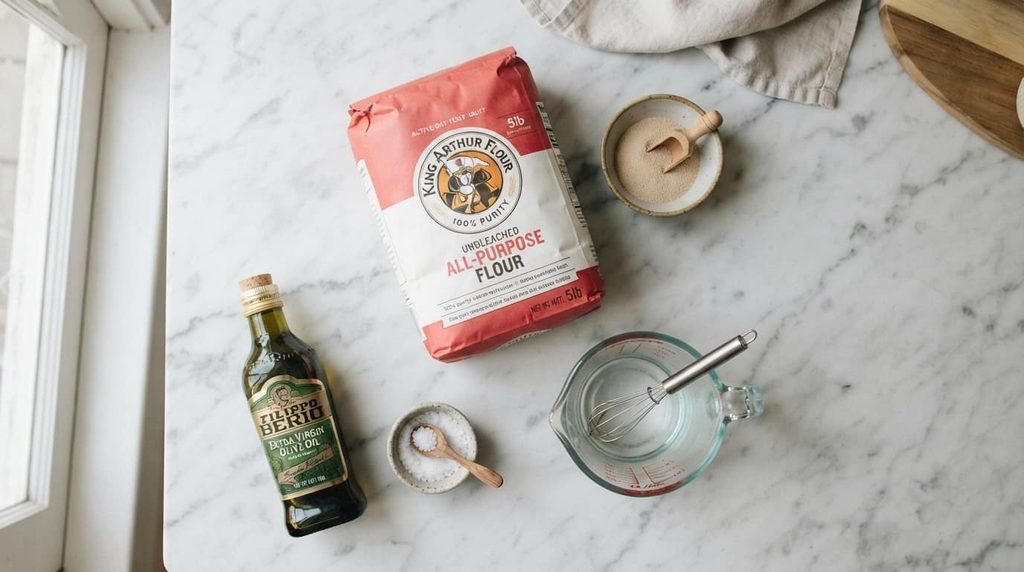
Here’s what the classic version calls for, enough for two 12 to 14 inch pizzas or one large rectangular pan:
| Ingredient | Amount |
|---|---|
| Active dry yeast or instant yeast | 2 teaspoons |
| Lukewarm water | 7/8 to 1 1/8 cups (198g to 255g) |
| Olive oil | 2 tablespoons (25g) |
| King Arthur Unbleached All-Purpose Flour | 3 cups (360g) |
| Table salt | 1 1/4 teaspoons (8g) |
A quick note on the water range: use the smaller amount in summer or a humid kitchen, and the larger amount in winter or a dry climate. Flour absorbs moisture from the air, so a little seasonal adjustment keeps the dough from turning either stiff or sticky. Weighing your flour rather than scooping it with a measuring cup also makes a real difference here. Scooped flour packs down and can add an extra quarter cup or more without you realizing it, which throws off the whole hydration balance.
How to Make King Arthur Pizza Dough, Step by Step
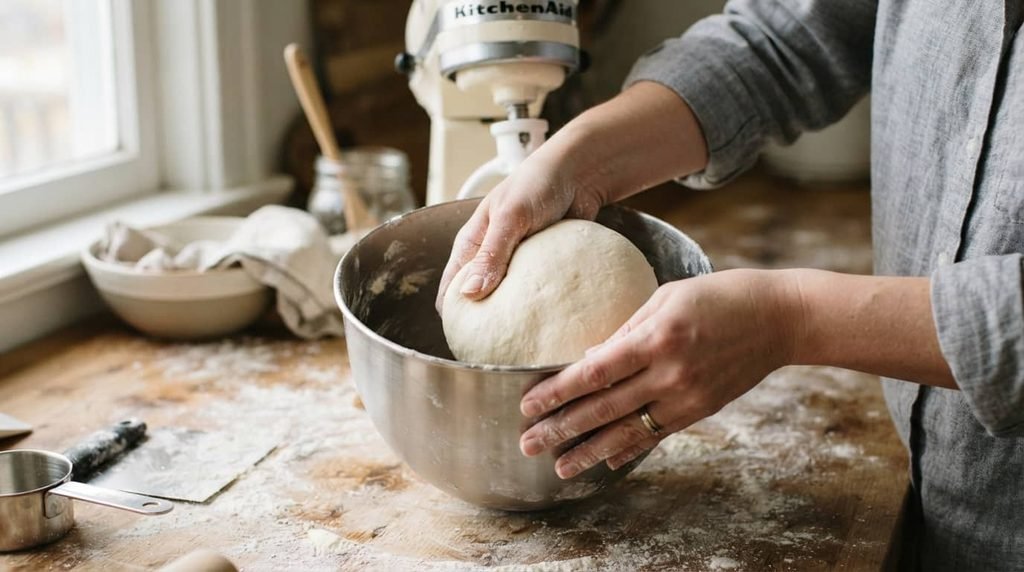
- Wake the yeast, if needed. If you’re using active dry yeast, stir it into two tablespoons of the lukewarm water with a small pinch of sugar, then let it sit for about 15 minutes until it looks foamy. Instant yeast skips this step entirely and goes straight into the dry ingredients.
- Mix and knead. Combine the yeast mixture (or instant yeast) with the rest of the water, the olive oil, flour, and salt. Knead by hand, in a stand mixer, or on your bread machine’s dough cycle until you get a soft, smooth dough. In a mixer this takes about four to five minutes on medium-low speed. Don’t overwork it. The surface can look a little rough as long as the dough holds together.
- Choose your path. From here you decide whether you’re baking today or later this week. Both options are covered in the next section.
- Shape it. Once risen, divide the dough as needed and stretch it into a rough oval or circle. Let it rest 15 minutes covered, then finish stretching it toward the edges of your pan or peel.
- Bake. Slide the shaped, topped dough into a 450°F oven. Thin crusts run about 8 minutes on the lower rack before topping; thicker ones take closer to 12 to 14 minutes. Once topped, a further 10 to 15 minutes on the upper rack finishes the job.
Same-Day vs. Refrigerated Dough: Which Should You Choose?
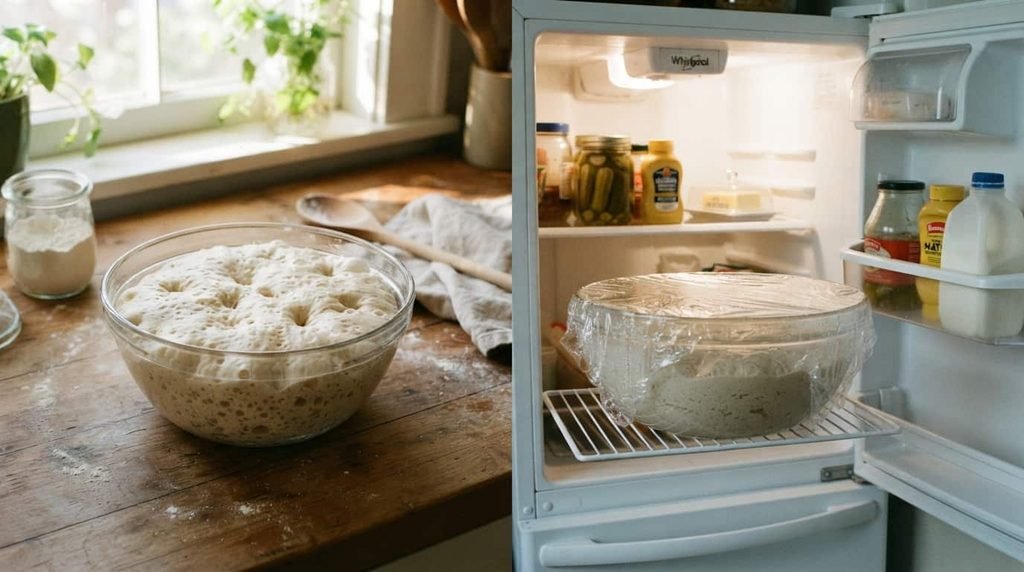
This recipe is built around two different timelines, and picking the right one for your evening matters more than any other single decision in the process.
Baking today: After kneading, place the dough in a lightly greased bowl, cover it, and let it rise until it’s noticeably puffy. Instant yeast gets there in about an hour; active dry yeast usually needs closer to 90 minutes. If your kitchen is cool, give it extra time rather than rushing it.
Baking later: Let the dough rise at room temperature for 45 minutes, then move it to the refrigerator for anywhere from 4 to 24 hours. This is cold fermentation, and it does two things at once: it stretches your schedule so you can mix dough on a Tuesday and bake on a Thursday, and it develops real depth of flavor that a quick same-day rise can’t match. Pull the dough out about two to three hours before you plan to bake so it has time to come back to room temperature.
If you’re torn, lean toward the refrigerated route. The flavor payoff is noticeable, and having shaped dough ready to go on a busy night is its own kind of convenience.
Quick Answer: How Long Does King Arthur Pizza Dough Need to Rise?
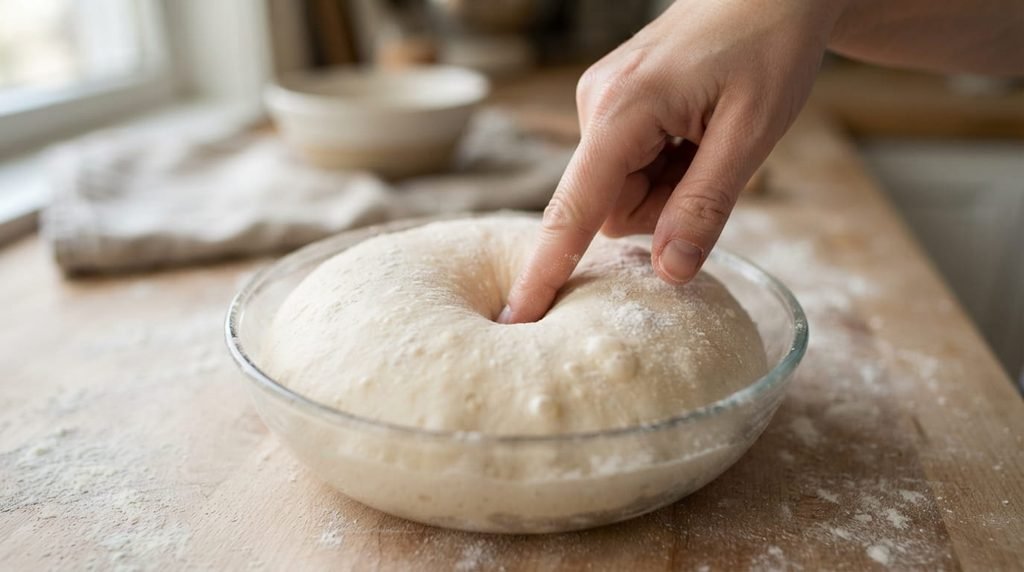
For same-day pizza, plan on 1 to 1 1/2 hours at room temperature until the dough looks visibly puffy. For make-ahead dough, a 45-minute counter rise followed by 4 to 24 hours in the refrigerator gives you both scheduling flexibility and better flavor from the slower fermentation. Either timeline produces a fully risen, ready-to-shape dough; the refrigerated version just tastes a bit more complex because the yeast has more time to work.
Choosing the Right Flour: All-Purpose, Bread, or 00
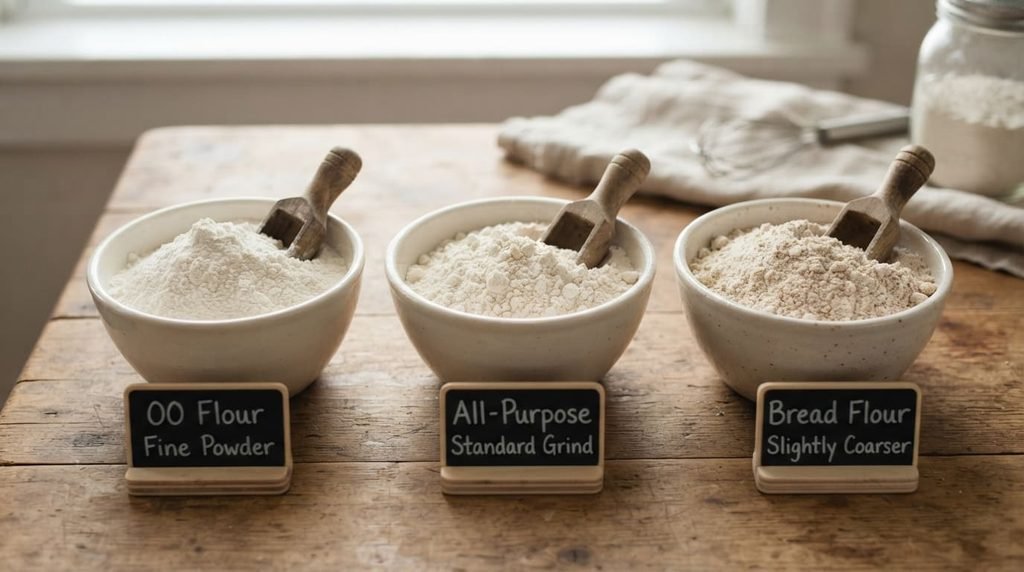
The classic recipe calls for King Arthur Unbleached All-Purpose Flour, and that’s not an accident. All-purpose flour sits at a protein content of roughly 11 to 12 percent, which is high enough to build a sturdy gluten network but not so high that the crust turns tough or bready. That gluten network is what traps the gas the yeast produces, giving the dough its rise and its chew.
Bread flour, with a slightly higher protein percentage, produces a chewier crust with more structure, which some bakers prefer for a thicker, New York-style slice. If you want something closer to a Neapolitan pizza, with a tender, extensible dough and a crust that blisters and chars in spots, King Arthur’s 00 flour is worth trying. It’s milled finer and has a lower, more relaxed protein content, so it stretches thin without fighting back nearly as much. None of these swaps require changing your technique much; you’re mainly trading a bit of chew for a bit of tenderness depending on which flour you pick.
How to Stretch Pizza Dough Without It Snapping Back
This is the step that frustrates the most home bakers, and it’s rarely a recipe problem. It’s almost always a technique or timing issue.
- Rest before you fight it. If the dough resists and springs back toward the center every time you stretch it, stop. Cover it and walk away for 15 minutes. That rest lets the gluten relax so the next attempt goes much further.
- Push, don’t pull. Start at the center of the dough and press outward with your fingertips rather than tugging at the edges. Pulling stretches the middle more than the edges and is the fastest way to tear a hole straight through your crust.
- Use gravity for the last stretch. Once you’ve got a medium-sized round, drape the dough over the backs of your hands and let it hang, rotating slowly so gravity pulls the edges down and out evenly.
- Start round to stay round. A dough ball that’s already shaped into a loose circle before you begin stretching is far more likely to end up round than one that starts as a lopsided blob.
- Don’t skip the bench rest. After you’ve pressed the dough two-thirds of the way to the edge of a pan, it will usually shrink back a little. That’s normal. Give it another 15-minute rest, covered, and finish stretching when you return.
Baking Your Pizza for a Crisp, Golden Crust
Preheat your oven to 450°F, and if you have a baking stone or baking steel, put it in the oven at the start of preheating and give it 45 minutes to an hour to fully heat through. That stored heat is what gives you a deeply browned, crisp bottom crust instead of a pale, soft one, since a home oven’s ambient heat alone usually can’t get there in the 10 to 15 minutes a pizza spends baking.
If you’re not ready to top and serve right away, you can par-bake the crust: bake it untopped until it’s just set and barely starting to color, then cool it, wrap it, and hold it at room temperature for up to two days or freeze it for up to three months. When you’re ready, top the crust straight from the fridge or freezer and finish baking in a preheated 450°F oven, adding a few extra minutes if it started out frozen.
A few more things that make a visible difference: grease the pan with a light coat of vegetable oil spray, then drizzle a little olive oil into the bottom before the dough goes in. That combination keeps the crust from sticking while giving the bottom real crunch and flavor. And when it’s time to serve, cut the pizza with kitchen scissors instead of a rolling wheel cutter. It’s a small trick, but it keeps toppings in place far better than you’d expect.
Frequently Asked Questions
Can I use all-purpose flour instead of 00 flour for pizza dough?
Yes. All-purpose flour is actually what the classic King Arthur recipe is built around, and it produces a reliable, chewy crust with good structure. Swapping in 00 flour will give you a more tender, extensible dough that’s easier to stretch paper-thin, but it isn’t a requirement for a good result.
How long can I refrigerate King Arthur pizza dough before baking?
The recipe itself calls for 4 to 24 hours in the fridge after an initial 45-minute rise. Some bakers push a well-wrapped dough out to 48 or even 72 hours for even deeper flavor, though 24 hours is the tested window for this specific recipe.
Can I freeze King Arthur pizza dough?
You can, though it’s easiest to freeze it as a par-baked crust rather than raw dough. Bake the shaped crust until just set, cool it completely, wrap it well, and freeze for up to three months. Thaw it loosely wrapped at room temperature before topping and finishing it in the oven.
Why does my pizza dough keep shrinking back when I stretch it?
This happens when the gluten network is still tight from kneading and shaping, and it’s completely normal. Cover the dough and let it rest for 15 minutes, then come back and continue stretching. If it still fights you, a second short rest almost always solves it.
Try this dough for your next pizza night, and if you land on a topping combination worth repeating, drop it in the comments so the rest of us can steal it.


Pingback: Pizza to the Rescue: 15 Fast Fixes for Busy Weeknights